AWS - Create Your Free Account In 7 Easy Steps

Possessing a high ambition of being a full-stack developer after working as a frontend engineer for some time, currently, I am expertizing in backend engineering with AWS and serverless architecture. Taking a problem, solving it, and then making it work using coding always gives me great pleasure. Moreover, as I got to taste the flavor of both the frontend and backend parts, I can easily visualize and make a bridge between them while working on any project now.
Amazon Web Services (AWS) is one of the leading cloud computing platforms. If you are looking for a solution that will make it simple for you to develop, test, and deploy your project, and after the deployment, if you want to monitor and smoothly scale up and down your project depending on user demand then AWS is totally for you because it already has them!
Let’s have a look at the benefits of using AWS at a glance:
- Cost-effective as you will be paying only for the computing power, storage, and other services on a usage base.
- Flexible with selecting the operating system, programming language, database, web application platform, and other services that are needed.
- Reliable as it has a secure and global computing infrastructure.
- Scalable and super Available.
- Secure as AWS provides end to end approach with their physical, software, and operational measures.
- Easy to use.
Now, if you are convinced to use AWS for your business, yourself, or simply for playing around, you must first create an account with AWS in order to get started. In this article, I'll walk you through the process of setting up your account in accordance with AWS Best Practices. So, keep reading this article to the very end!
Note: Creating an AWS account is free and gives you immediate access to the AWS Free Tier.
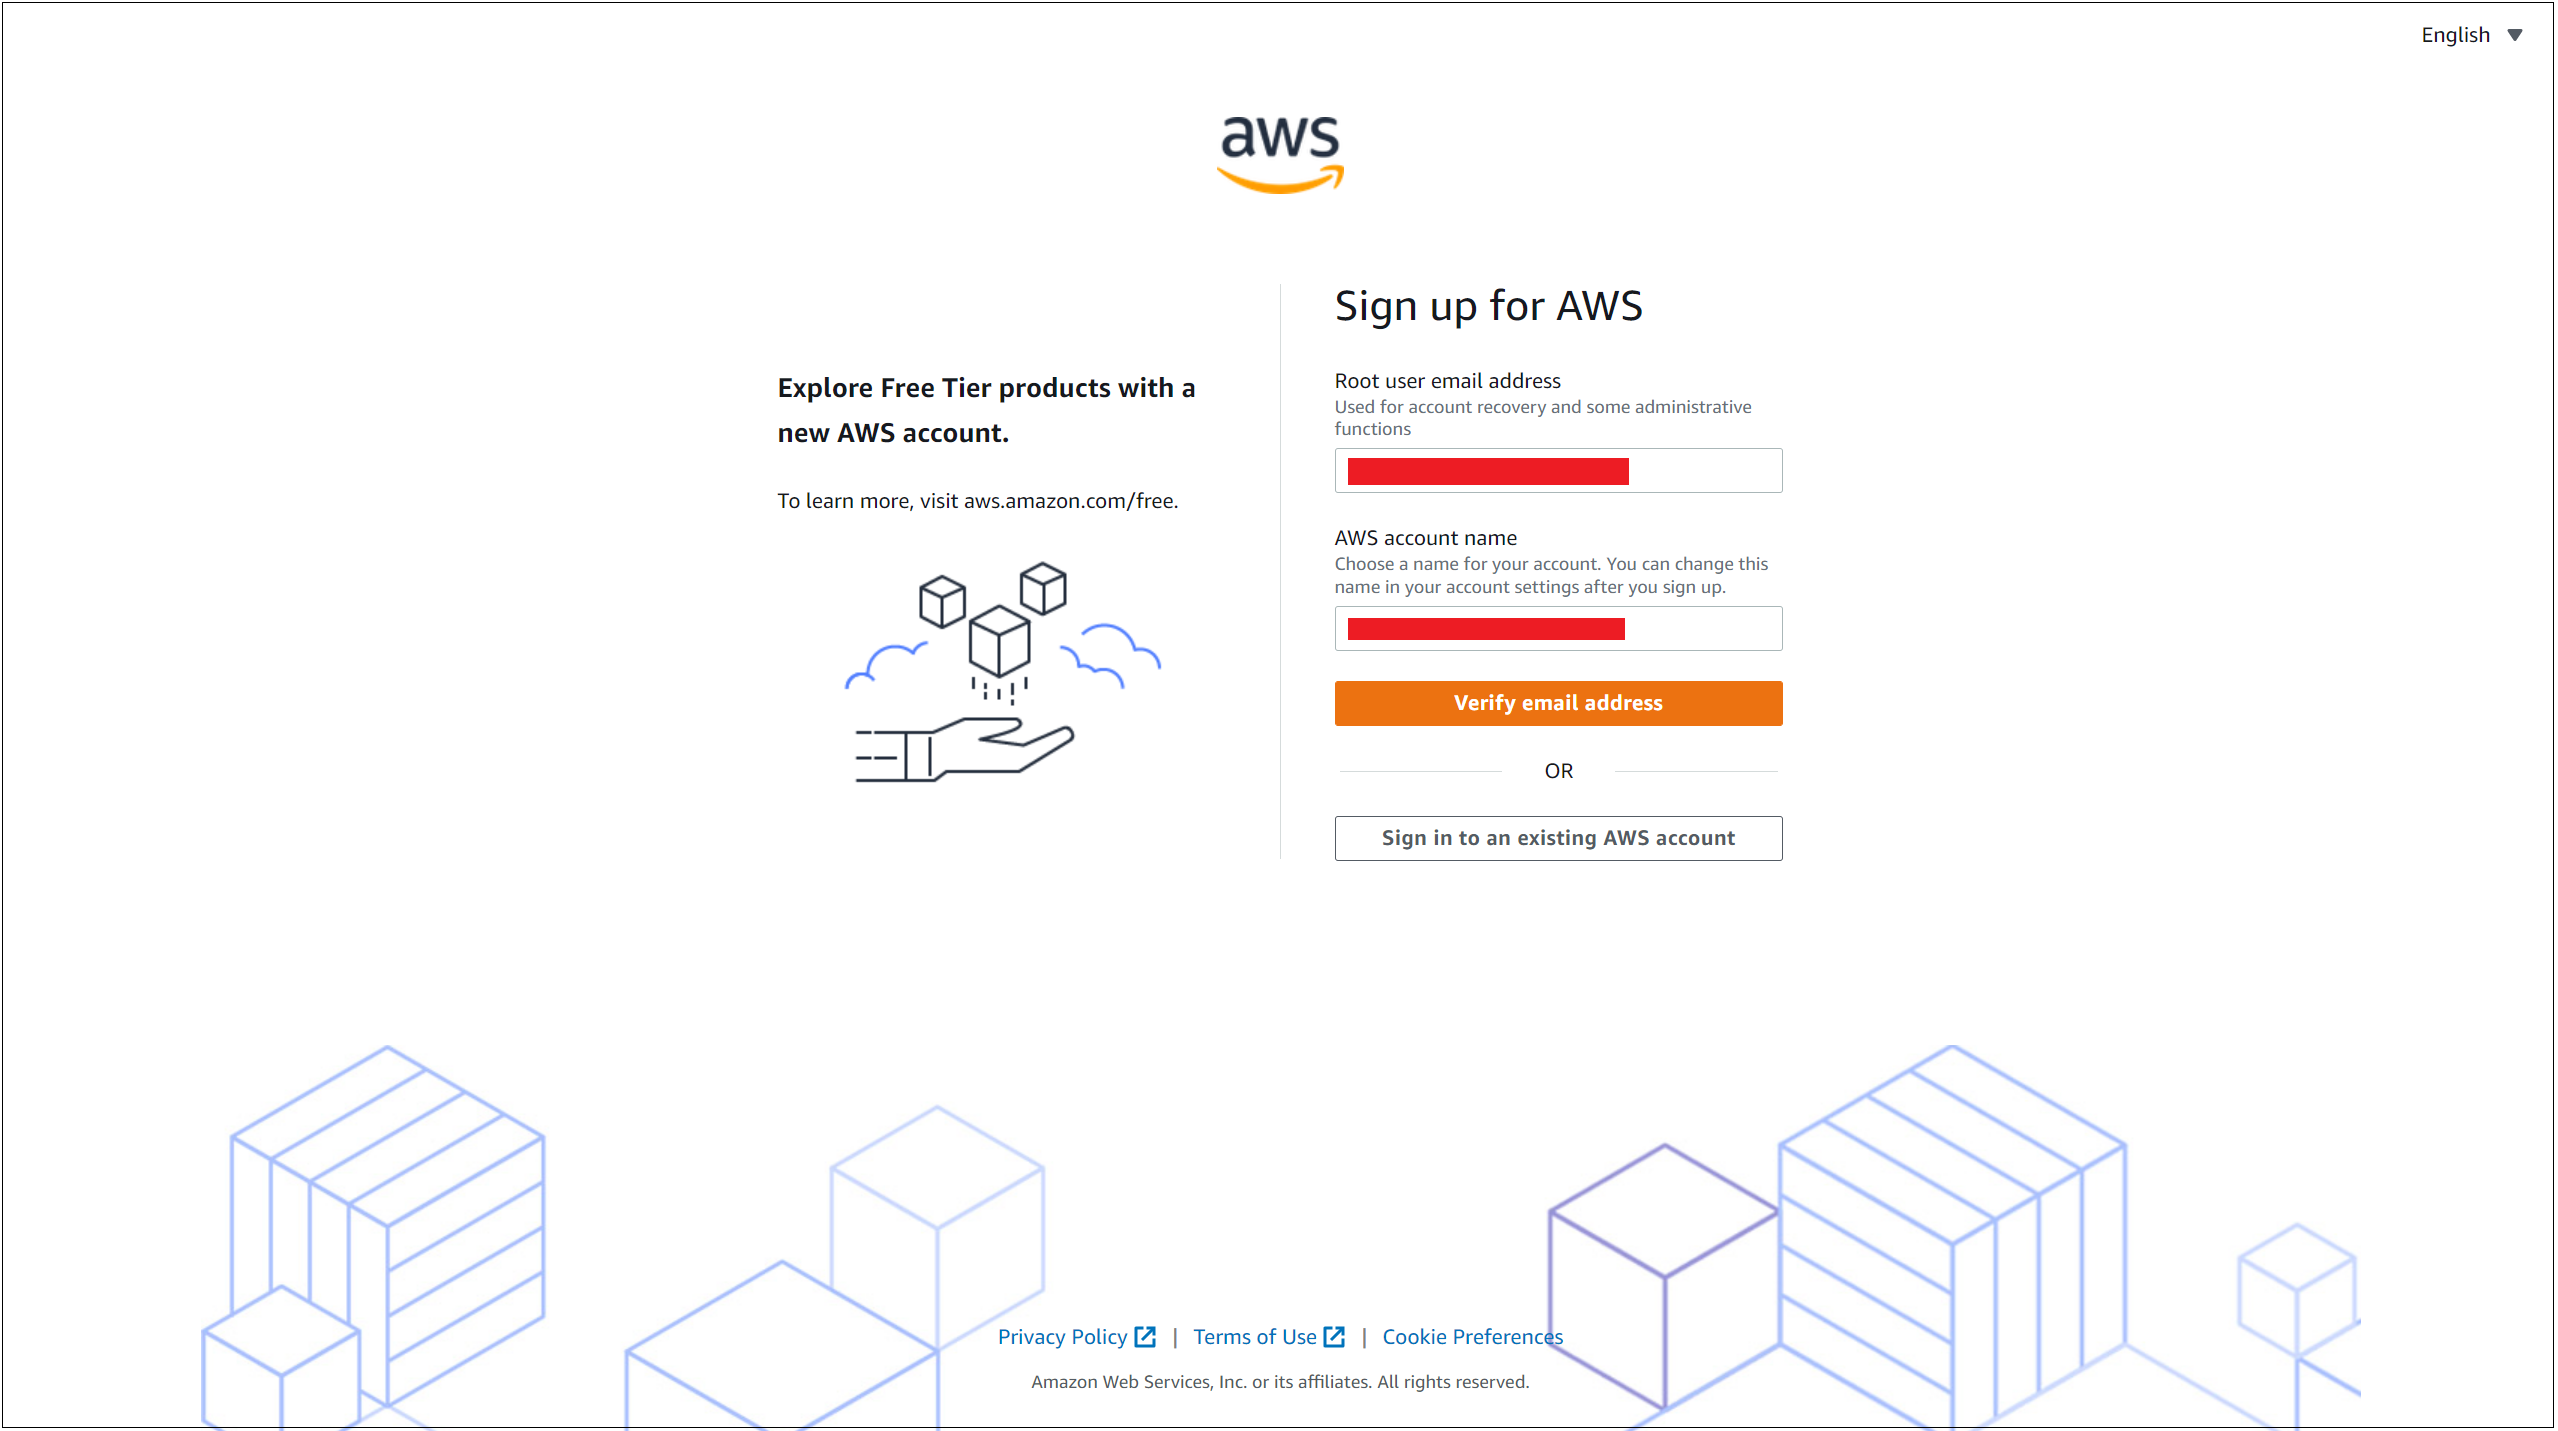
Step 1 - Sign up for AWS:
- Go to AWS Sign Up page.
Fill up the Root user email address. This email will have all the administrative access in AWS.
Best Practice: According to AWS, for business purposes, use a business email address (e.g. it.admins@example.com).
Fill up the AWS account name. You'll be able to change it later.
Best Practice: According to AWS naming conventions, for organization, use organization-purpose-environment (e.g. abc-device_management-dev), and for personal, use first_name-last_name-purpose (e.g. john-doe-testaccount).
- Click on the Verify email address button.
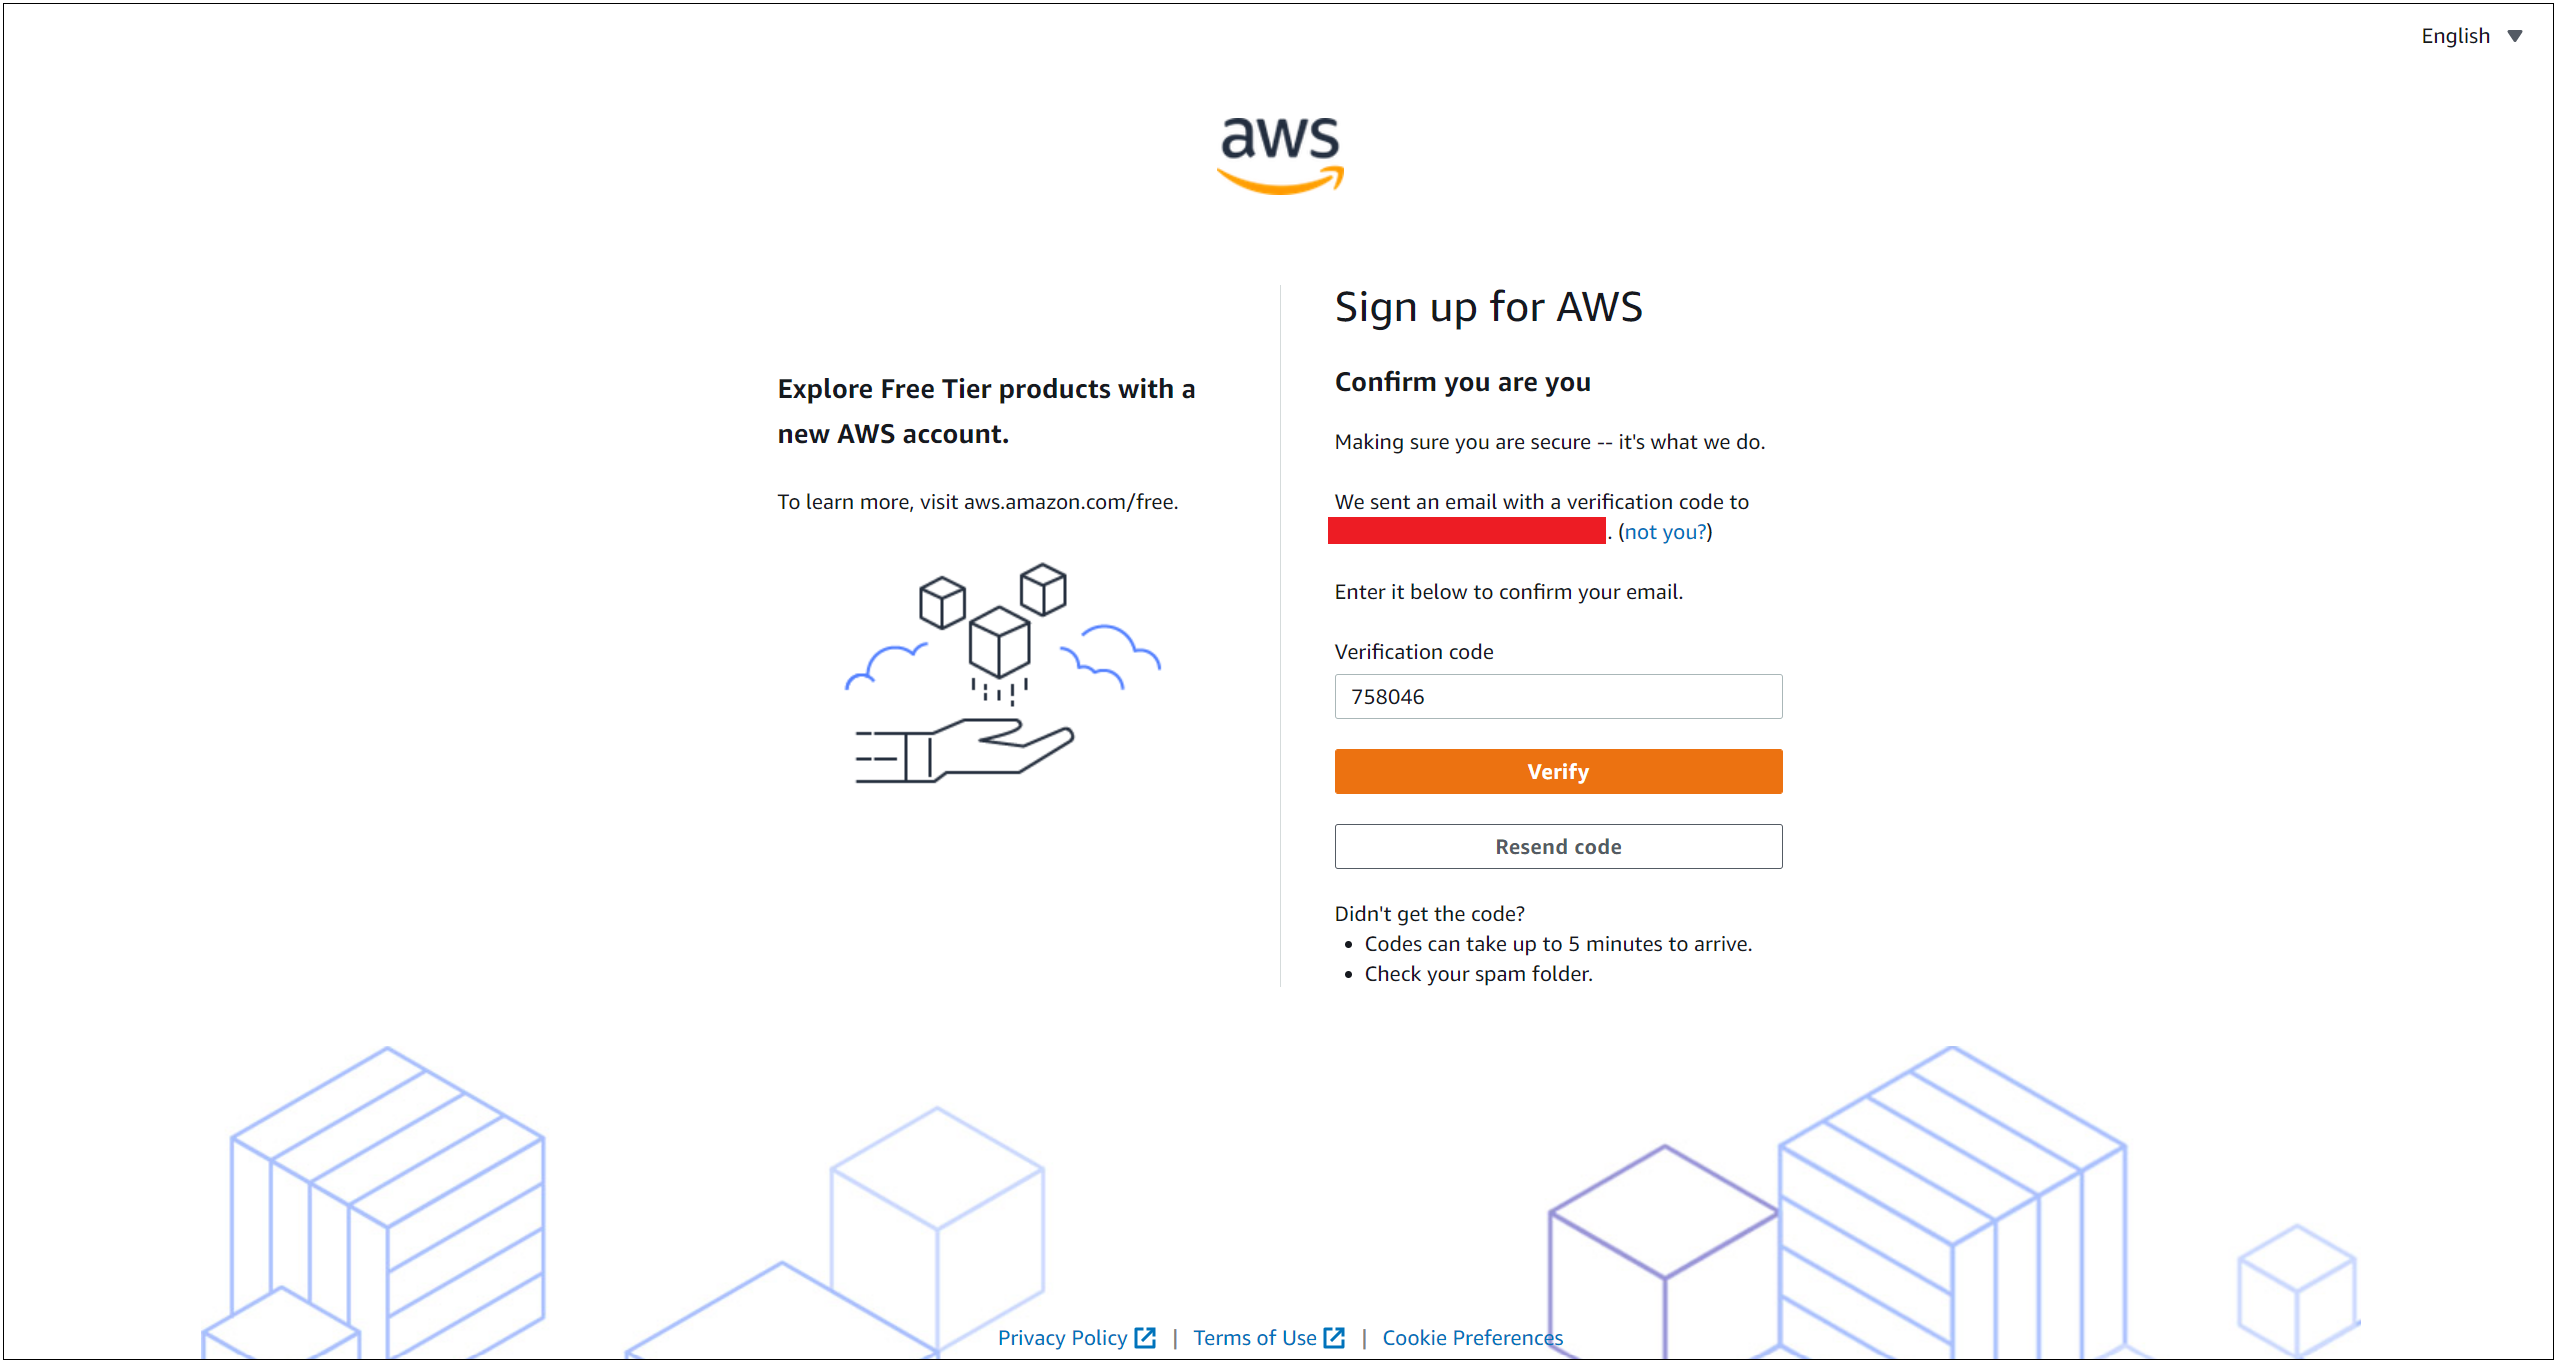
Step 2 - Verify email address:
Check your inbox. If you can’t find the email, then check your spam folder. It can take up to 5 minutes for the email to arrive.
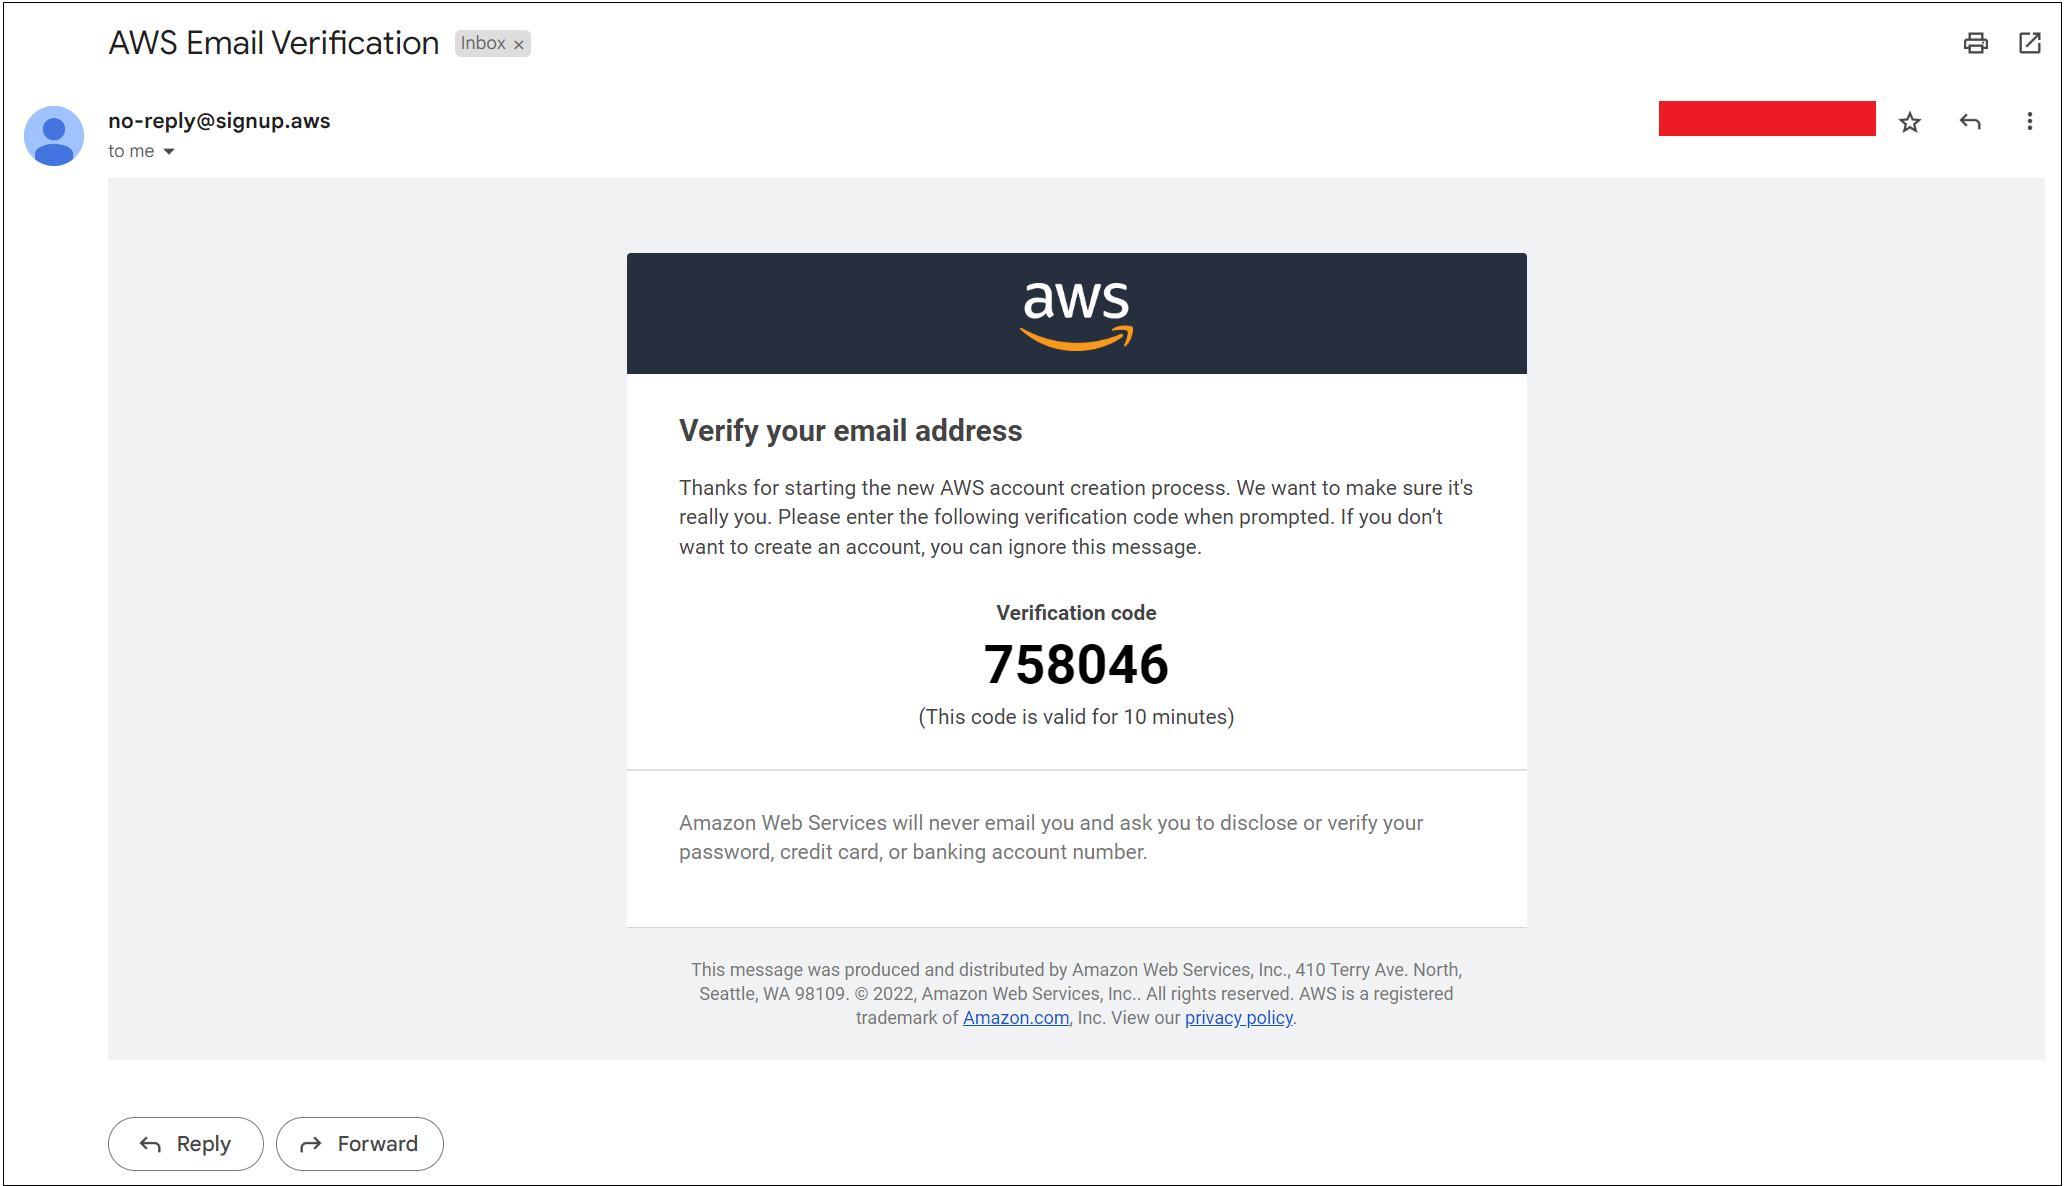
Upon getting the email, copy the code. Then go back to the confirmation page and paste the code. Finally, hit the Verify button.
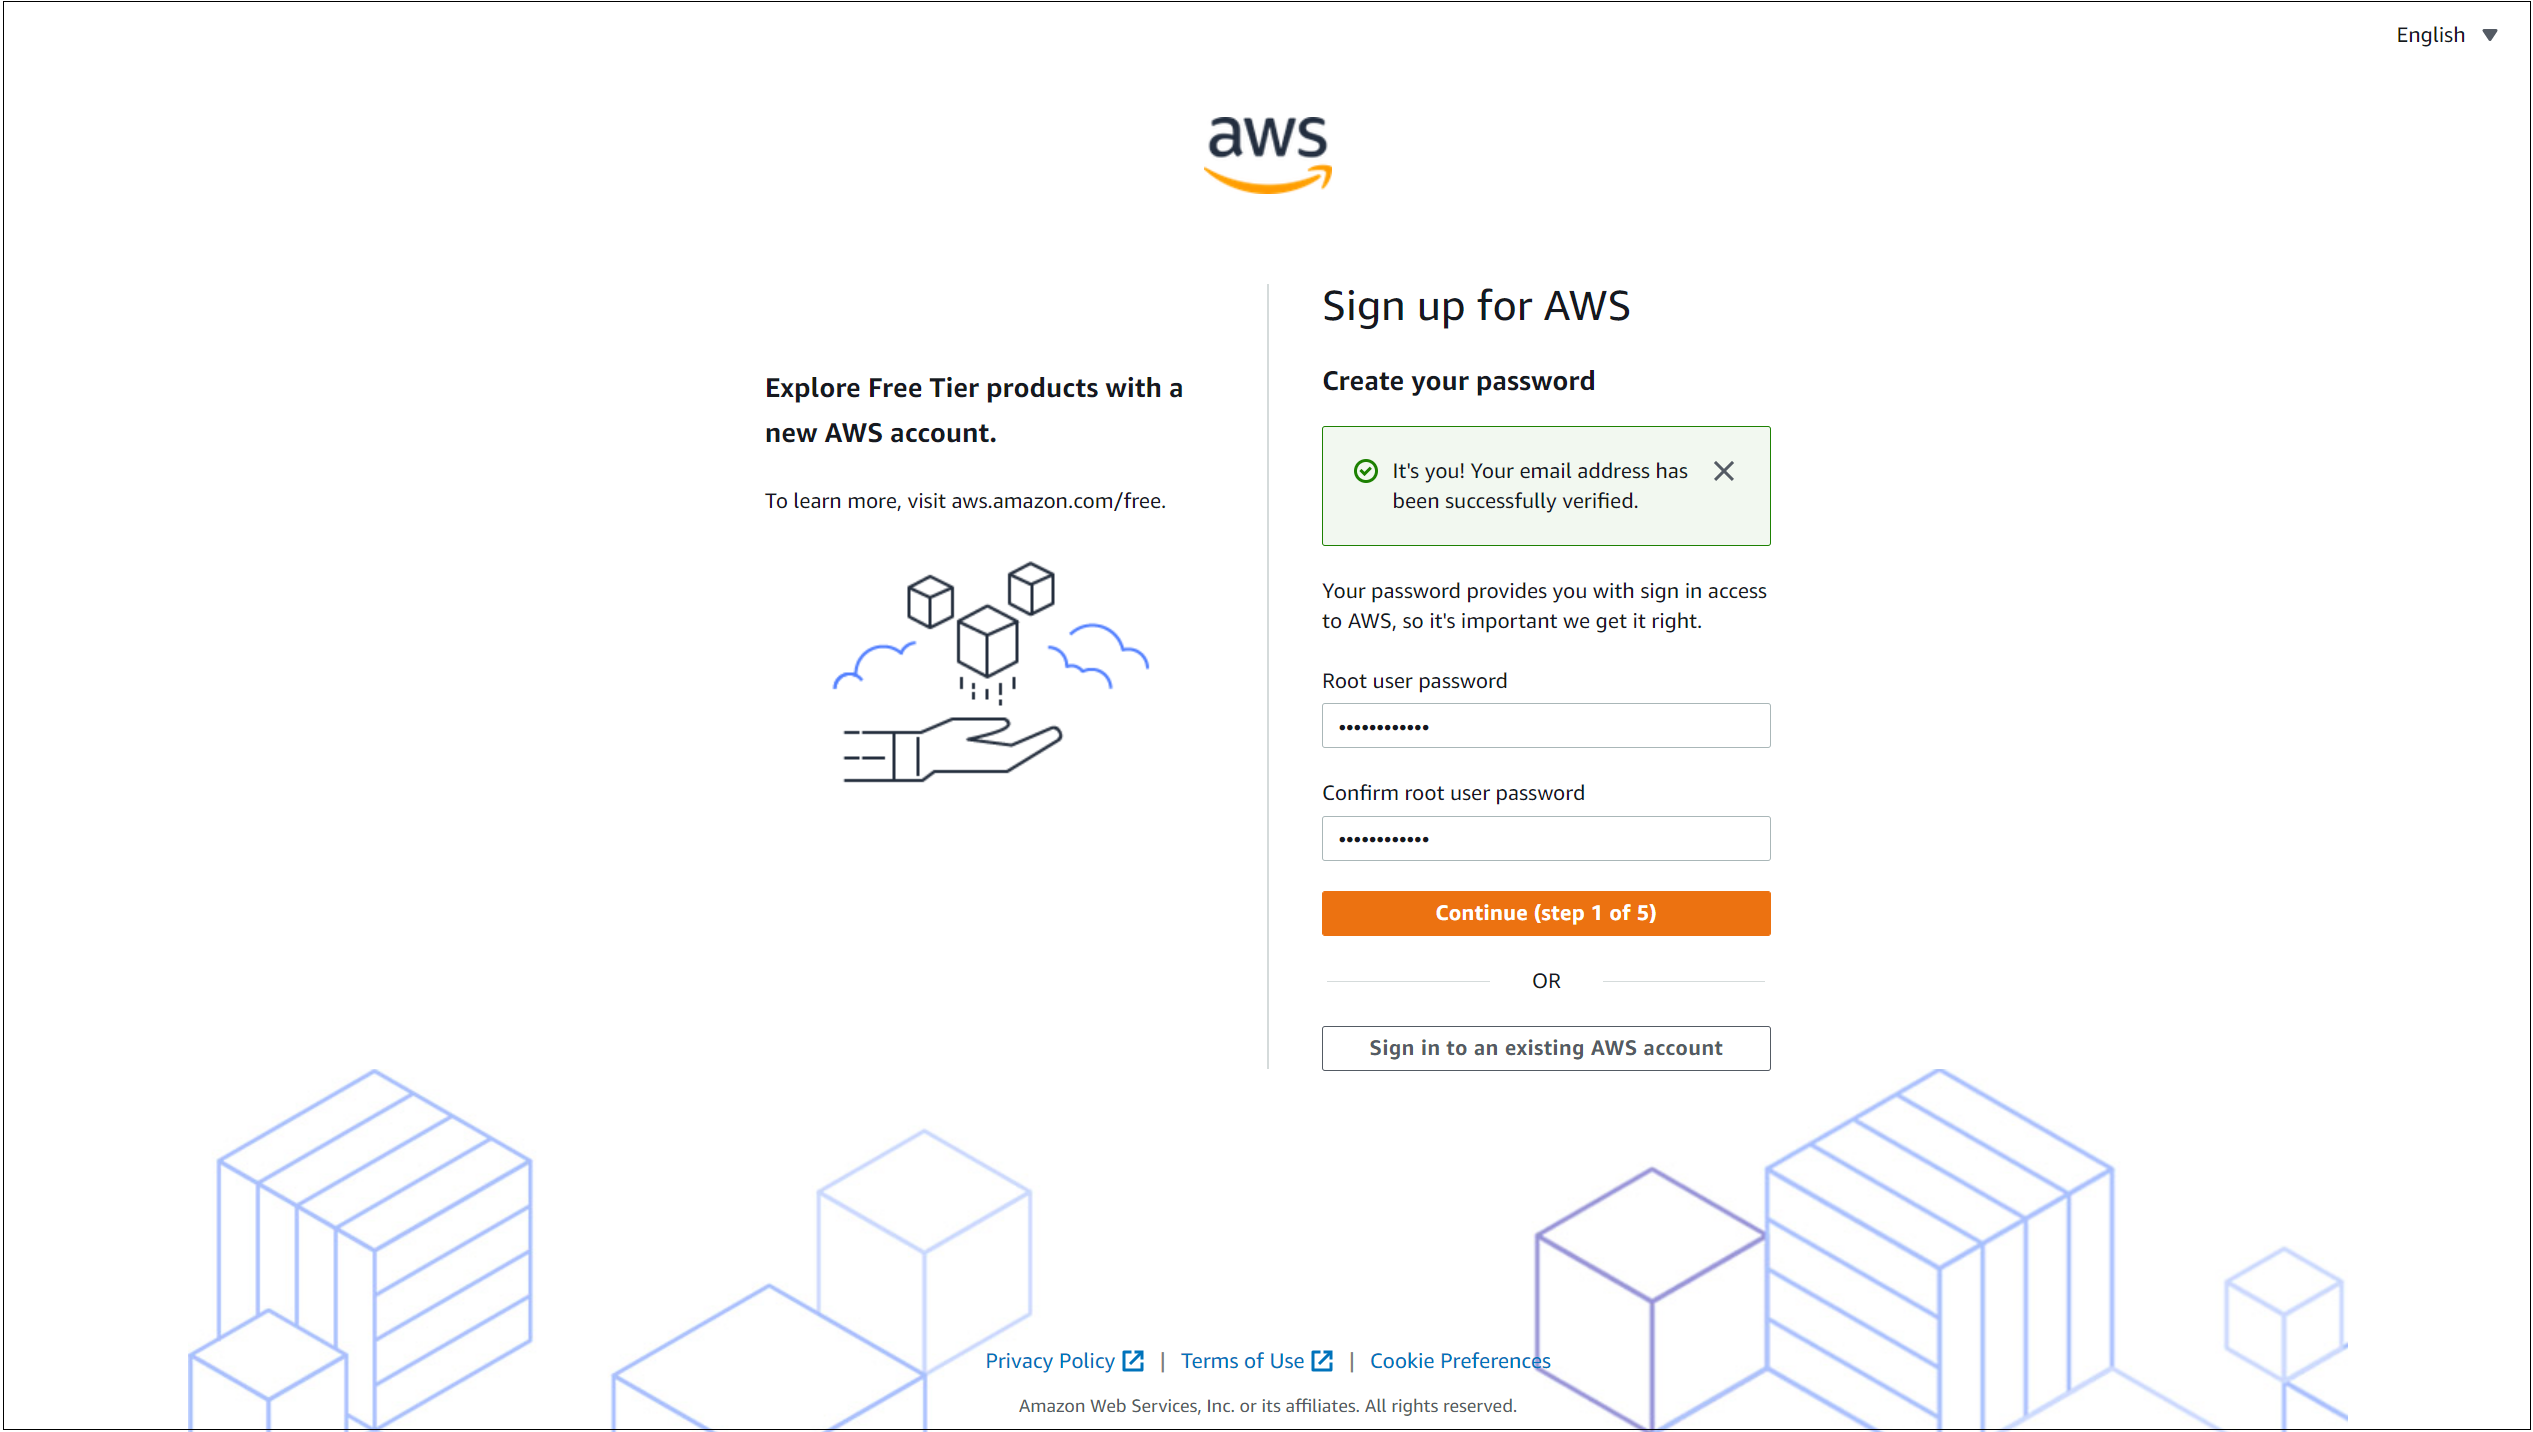
Step 3 - Set up root user password:
- Enter Root user password and Confirm root user password.
- Press Continue.
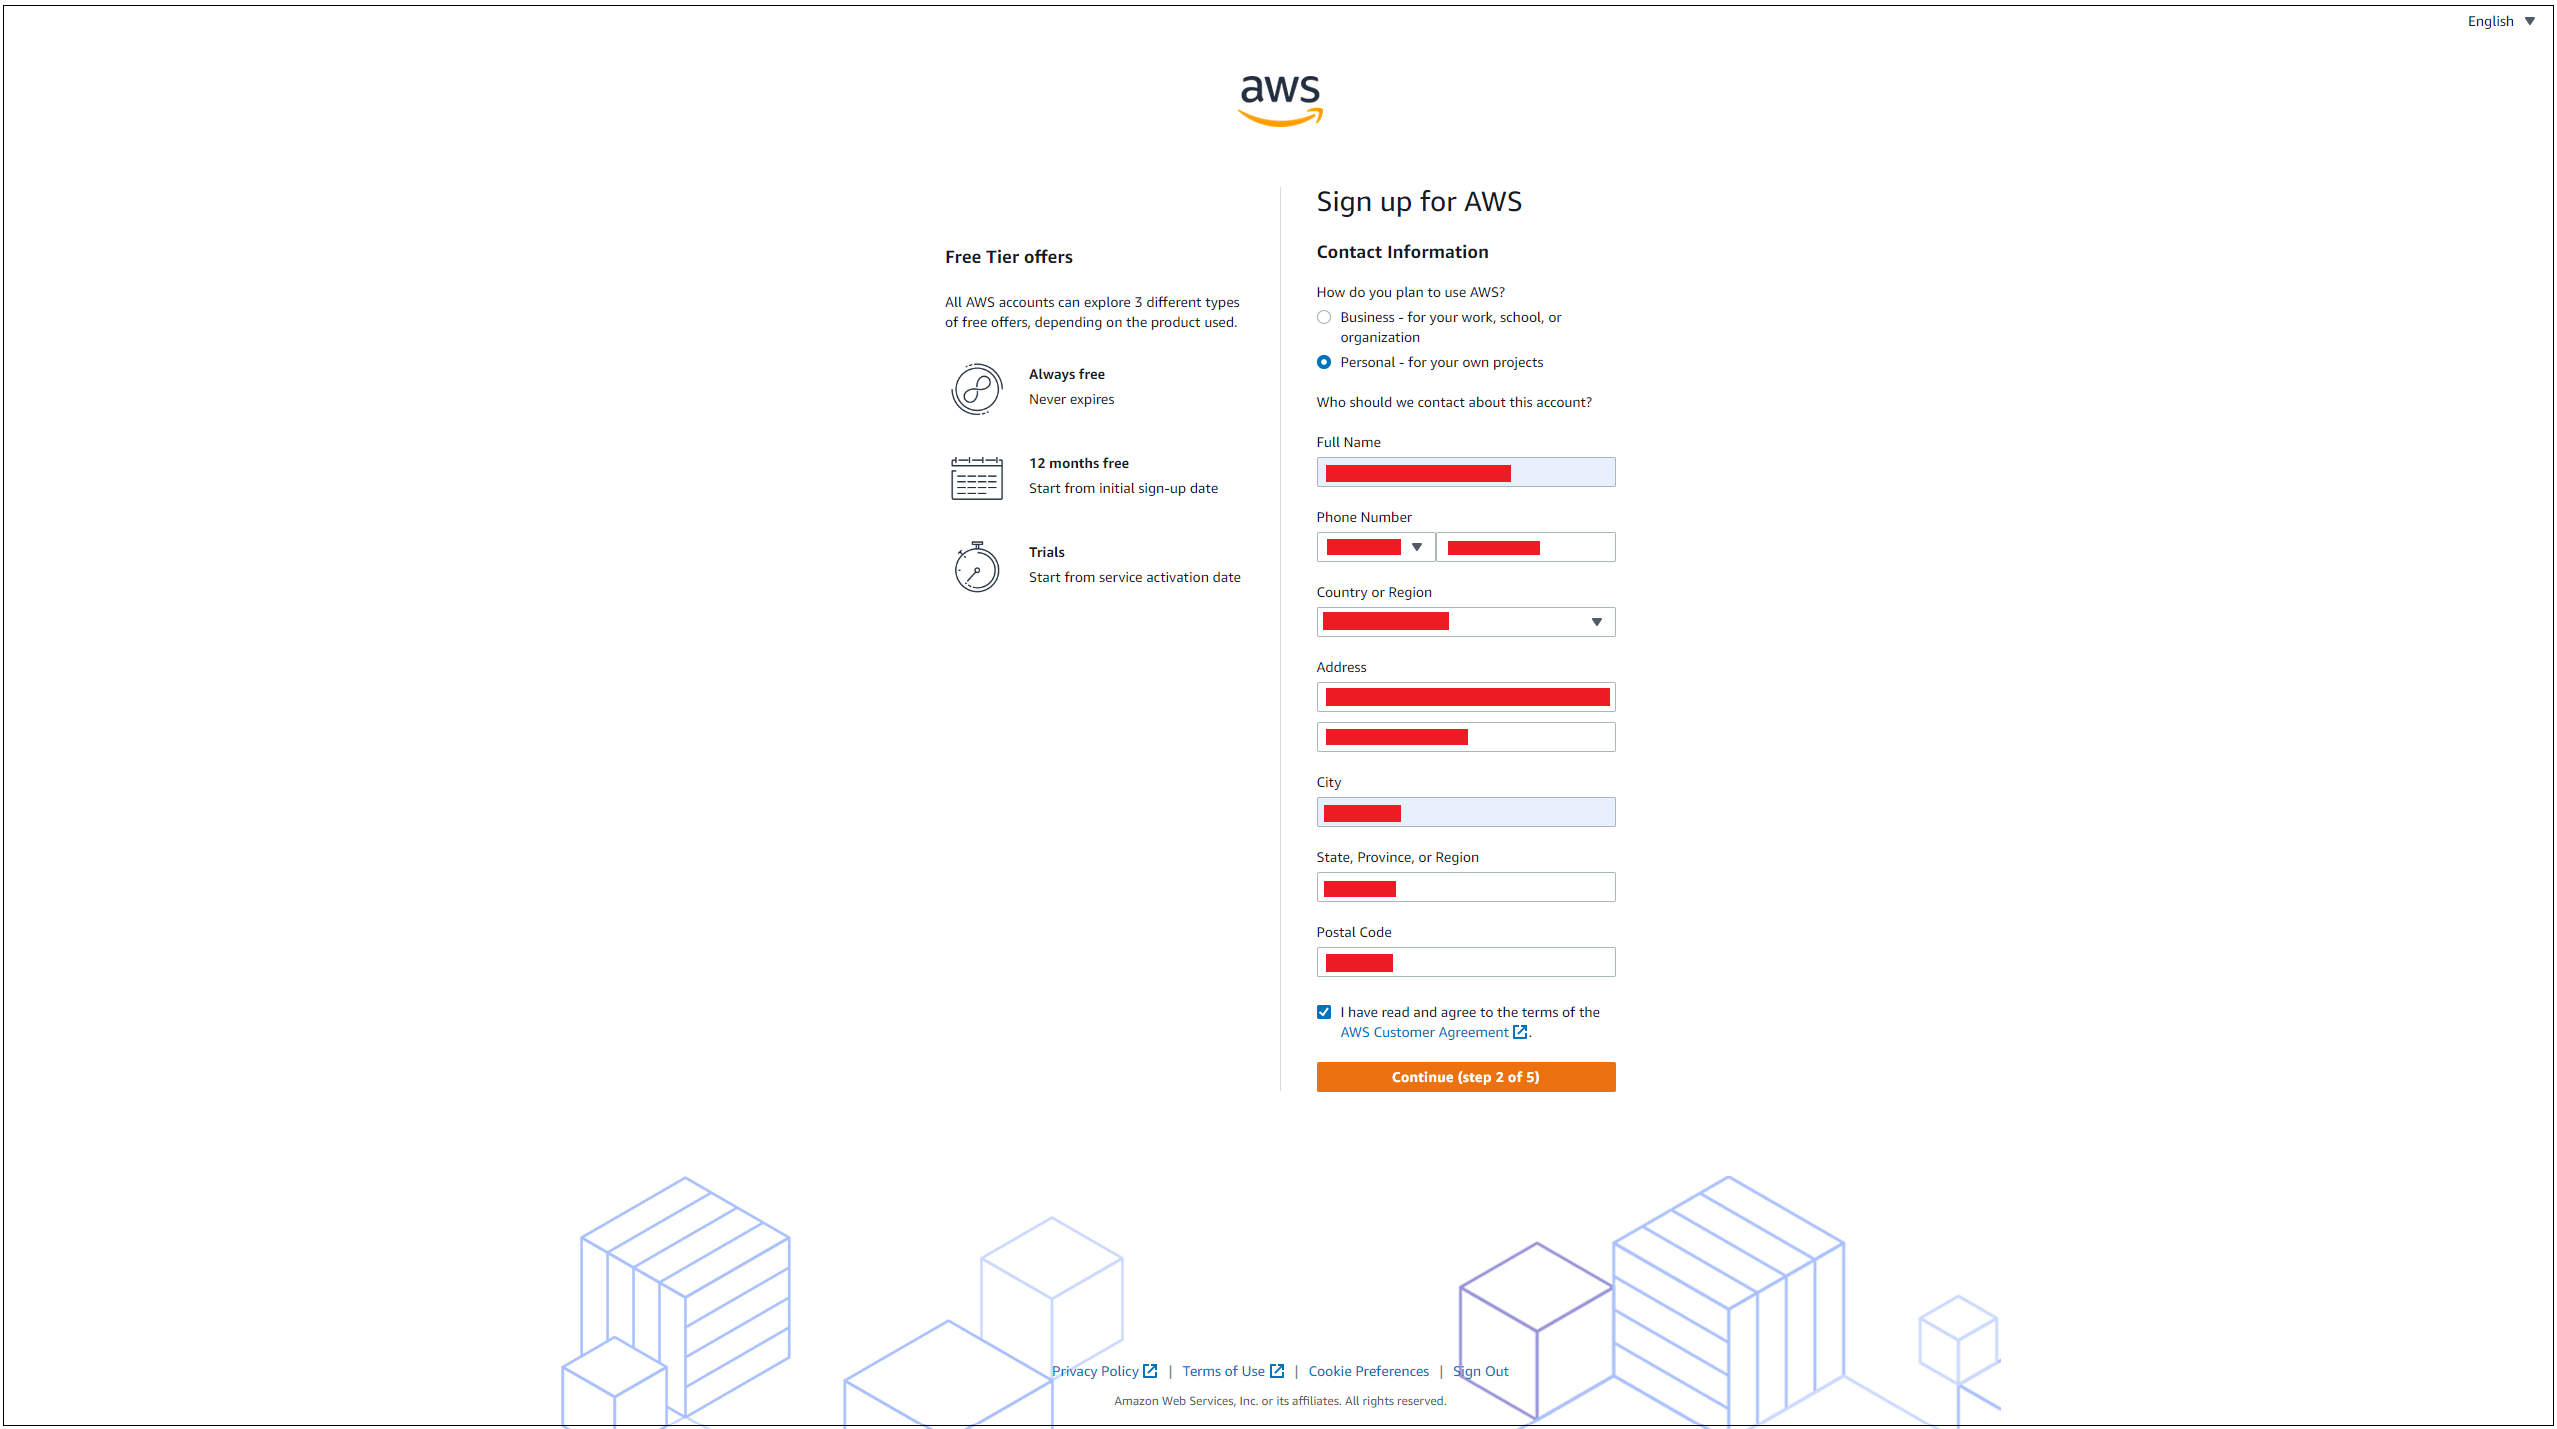
Step 4 - Set up contact information:
- Choose the plan. If you are creating the account for business purposes, then select the Business option or else select the Personal option. As I am creating for my personal usage so I am going to choose the personal option.
- Enter your Full Name.
Enter your Phone Number.
Best Practice: For business, make sure to enter your company phone number.
Enter your Country or Region, Address, City, State, Province, or Region, and Postal Code one by one.
- Read and accept the AWS Customer Agreement.
- Recheck the information and press Continue.
Step 5 - Set up billing information:
- Enter your Credit or Debit card number.
- Enter the Expiration date of your Credit or Debit card.
- Enter the Cardholder’s name.
- Select your contact address as your billing address. If you want to input a different address for billing, then select Use a new address and fill in the necessary information.
- Recheck the information and press Verify.
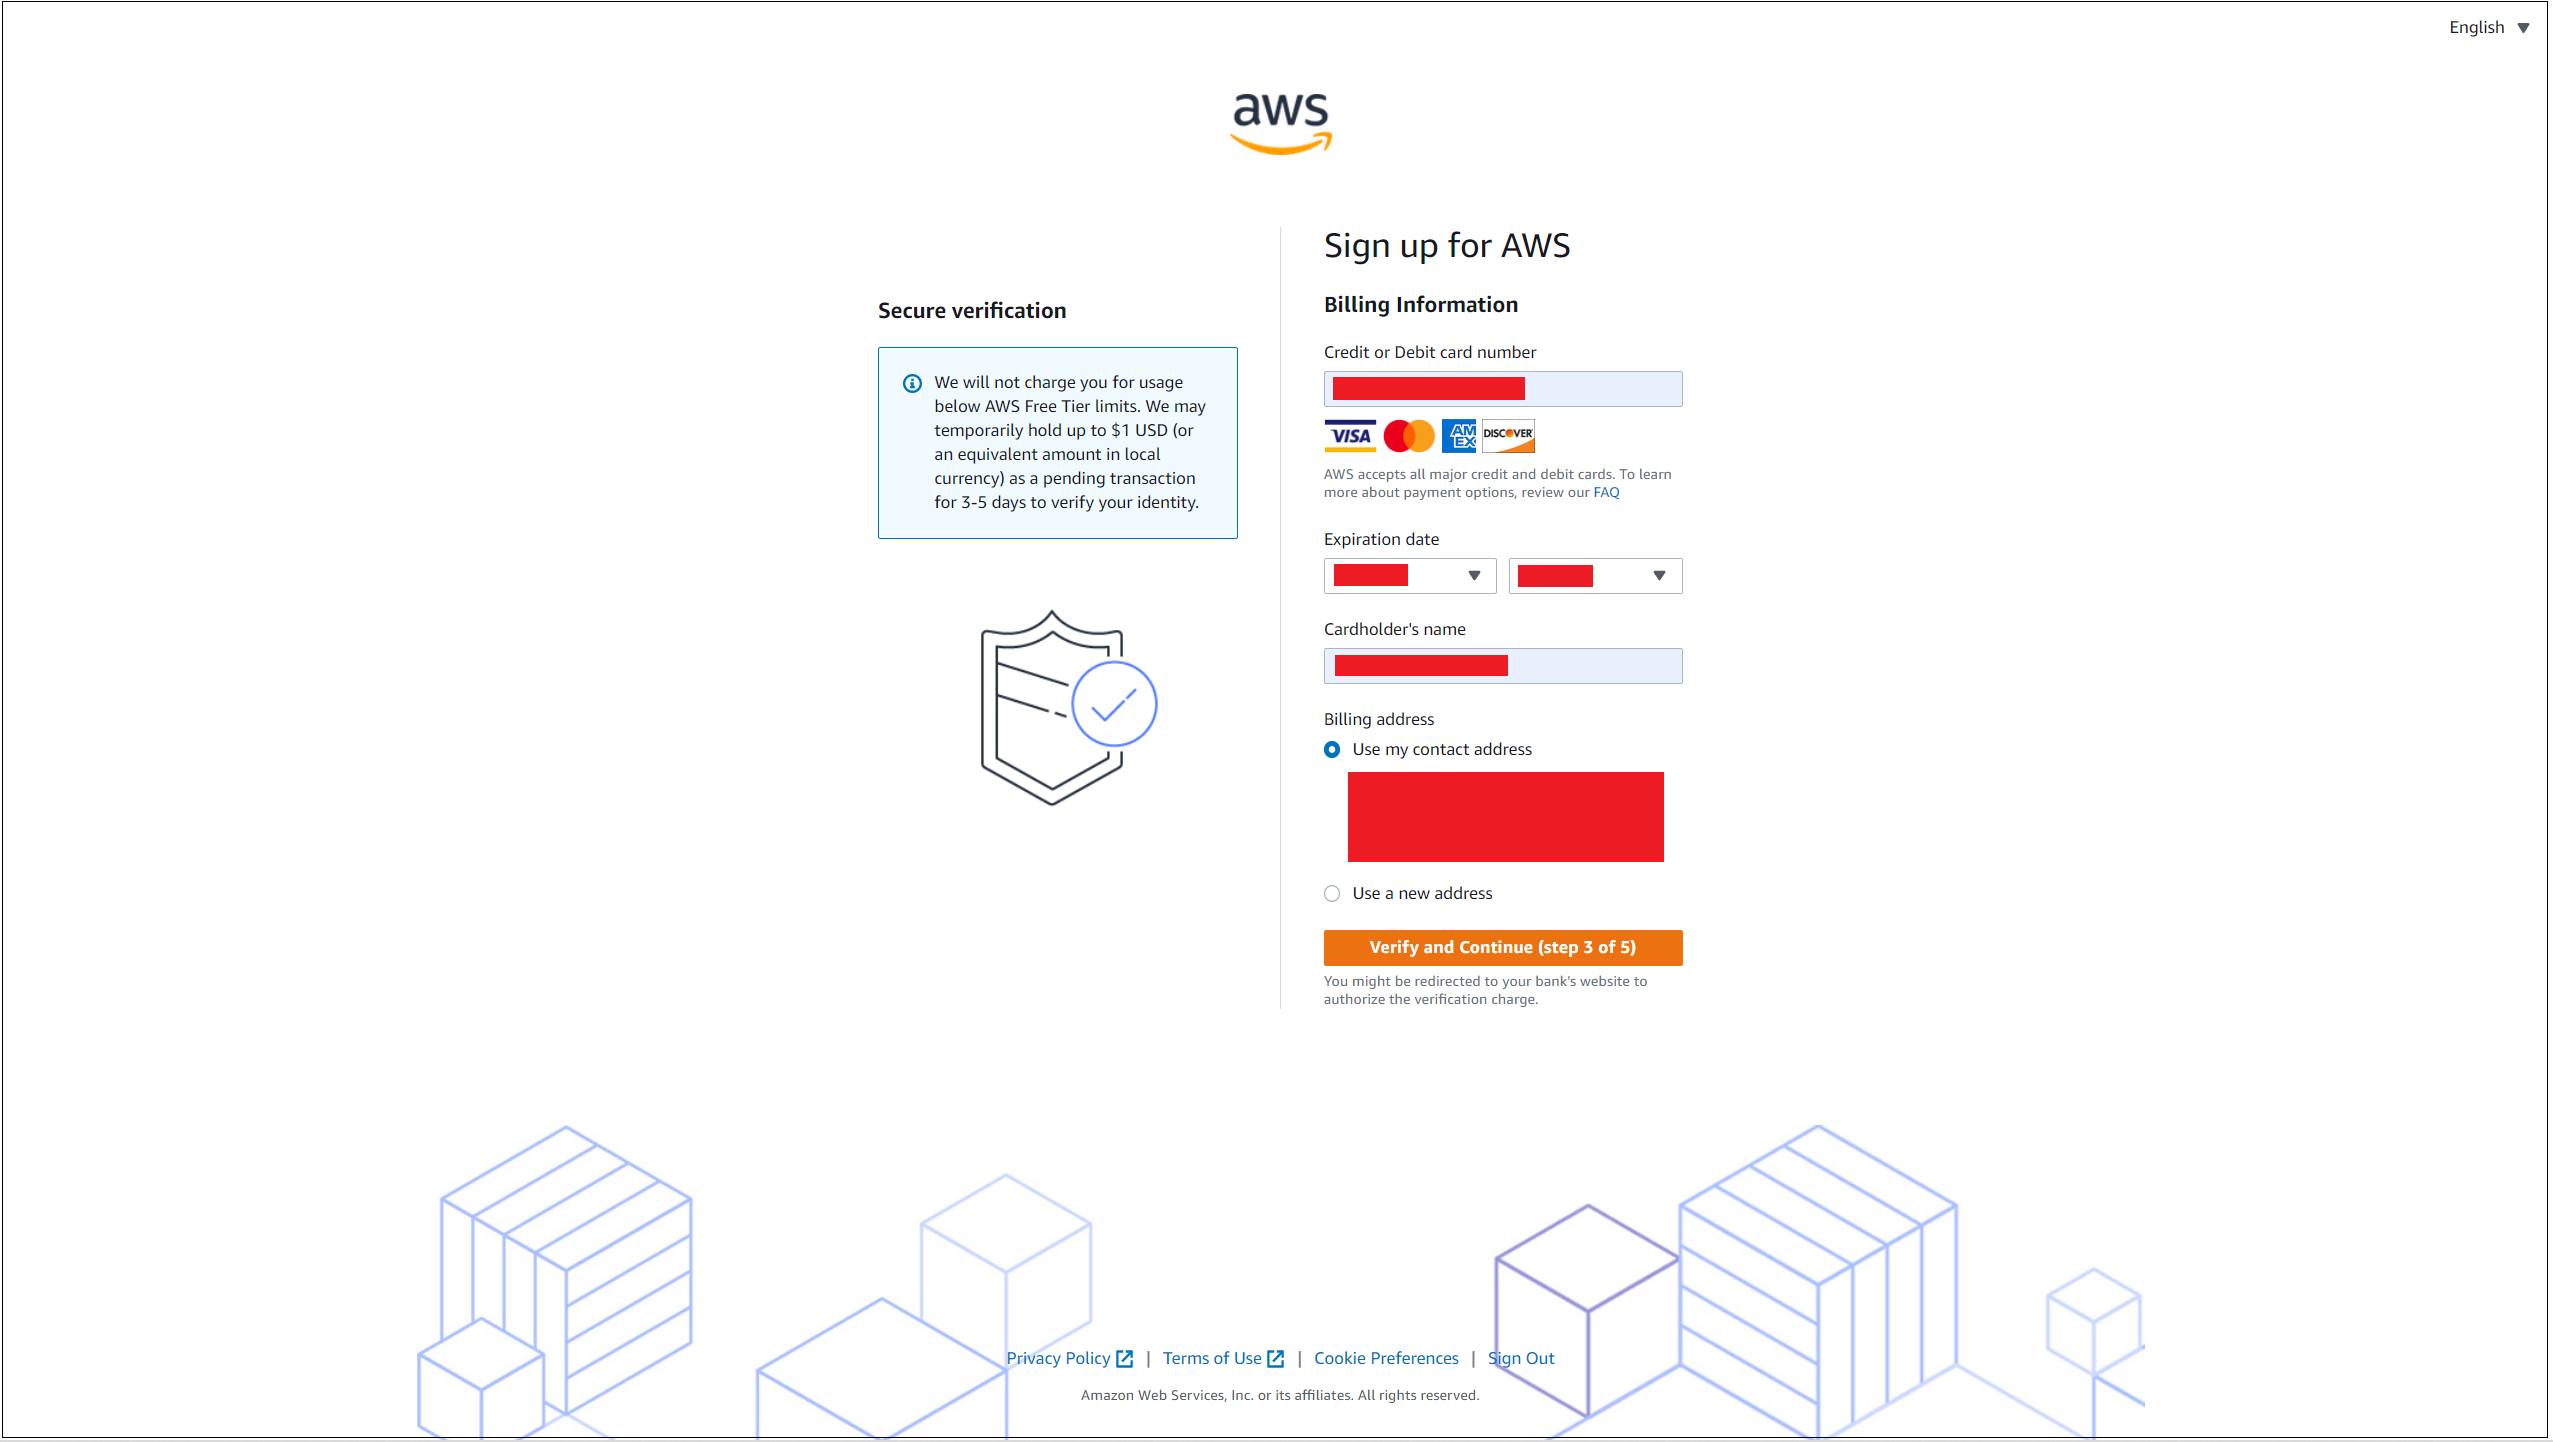
Important: You need to add valid billing information, or else you won’t be able to proceed with the account creation. Also, AWS will mortgage $1 USD or an equivalent amount in local currency until the completion of billing information verification. The billing information verification process can take 3-5 days to complete. When it is completed, AWS will return your money.
Step 6 - Verify contact number:
- Select your Country or Region Code.
- Enter your Mobile phone number.
- Enter the correct CAPTCHA.
Press Send SMS button.
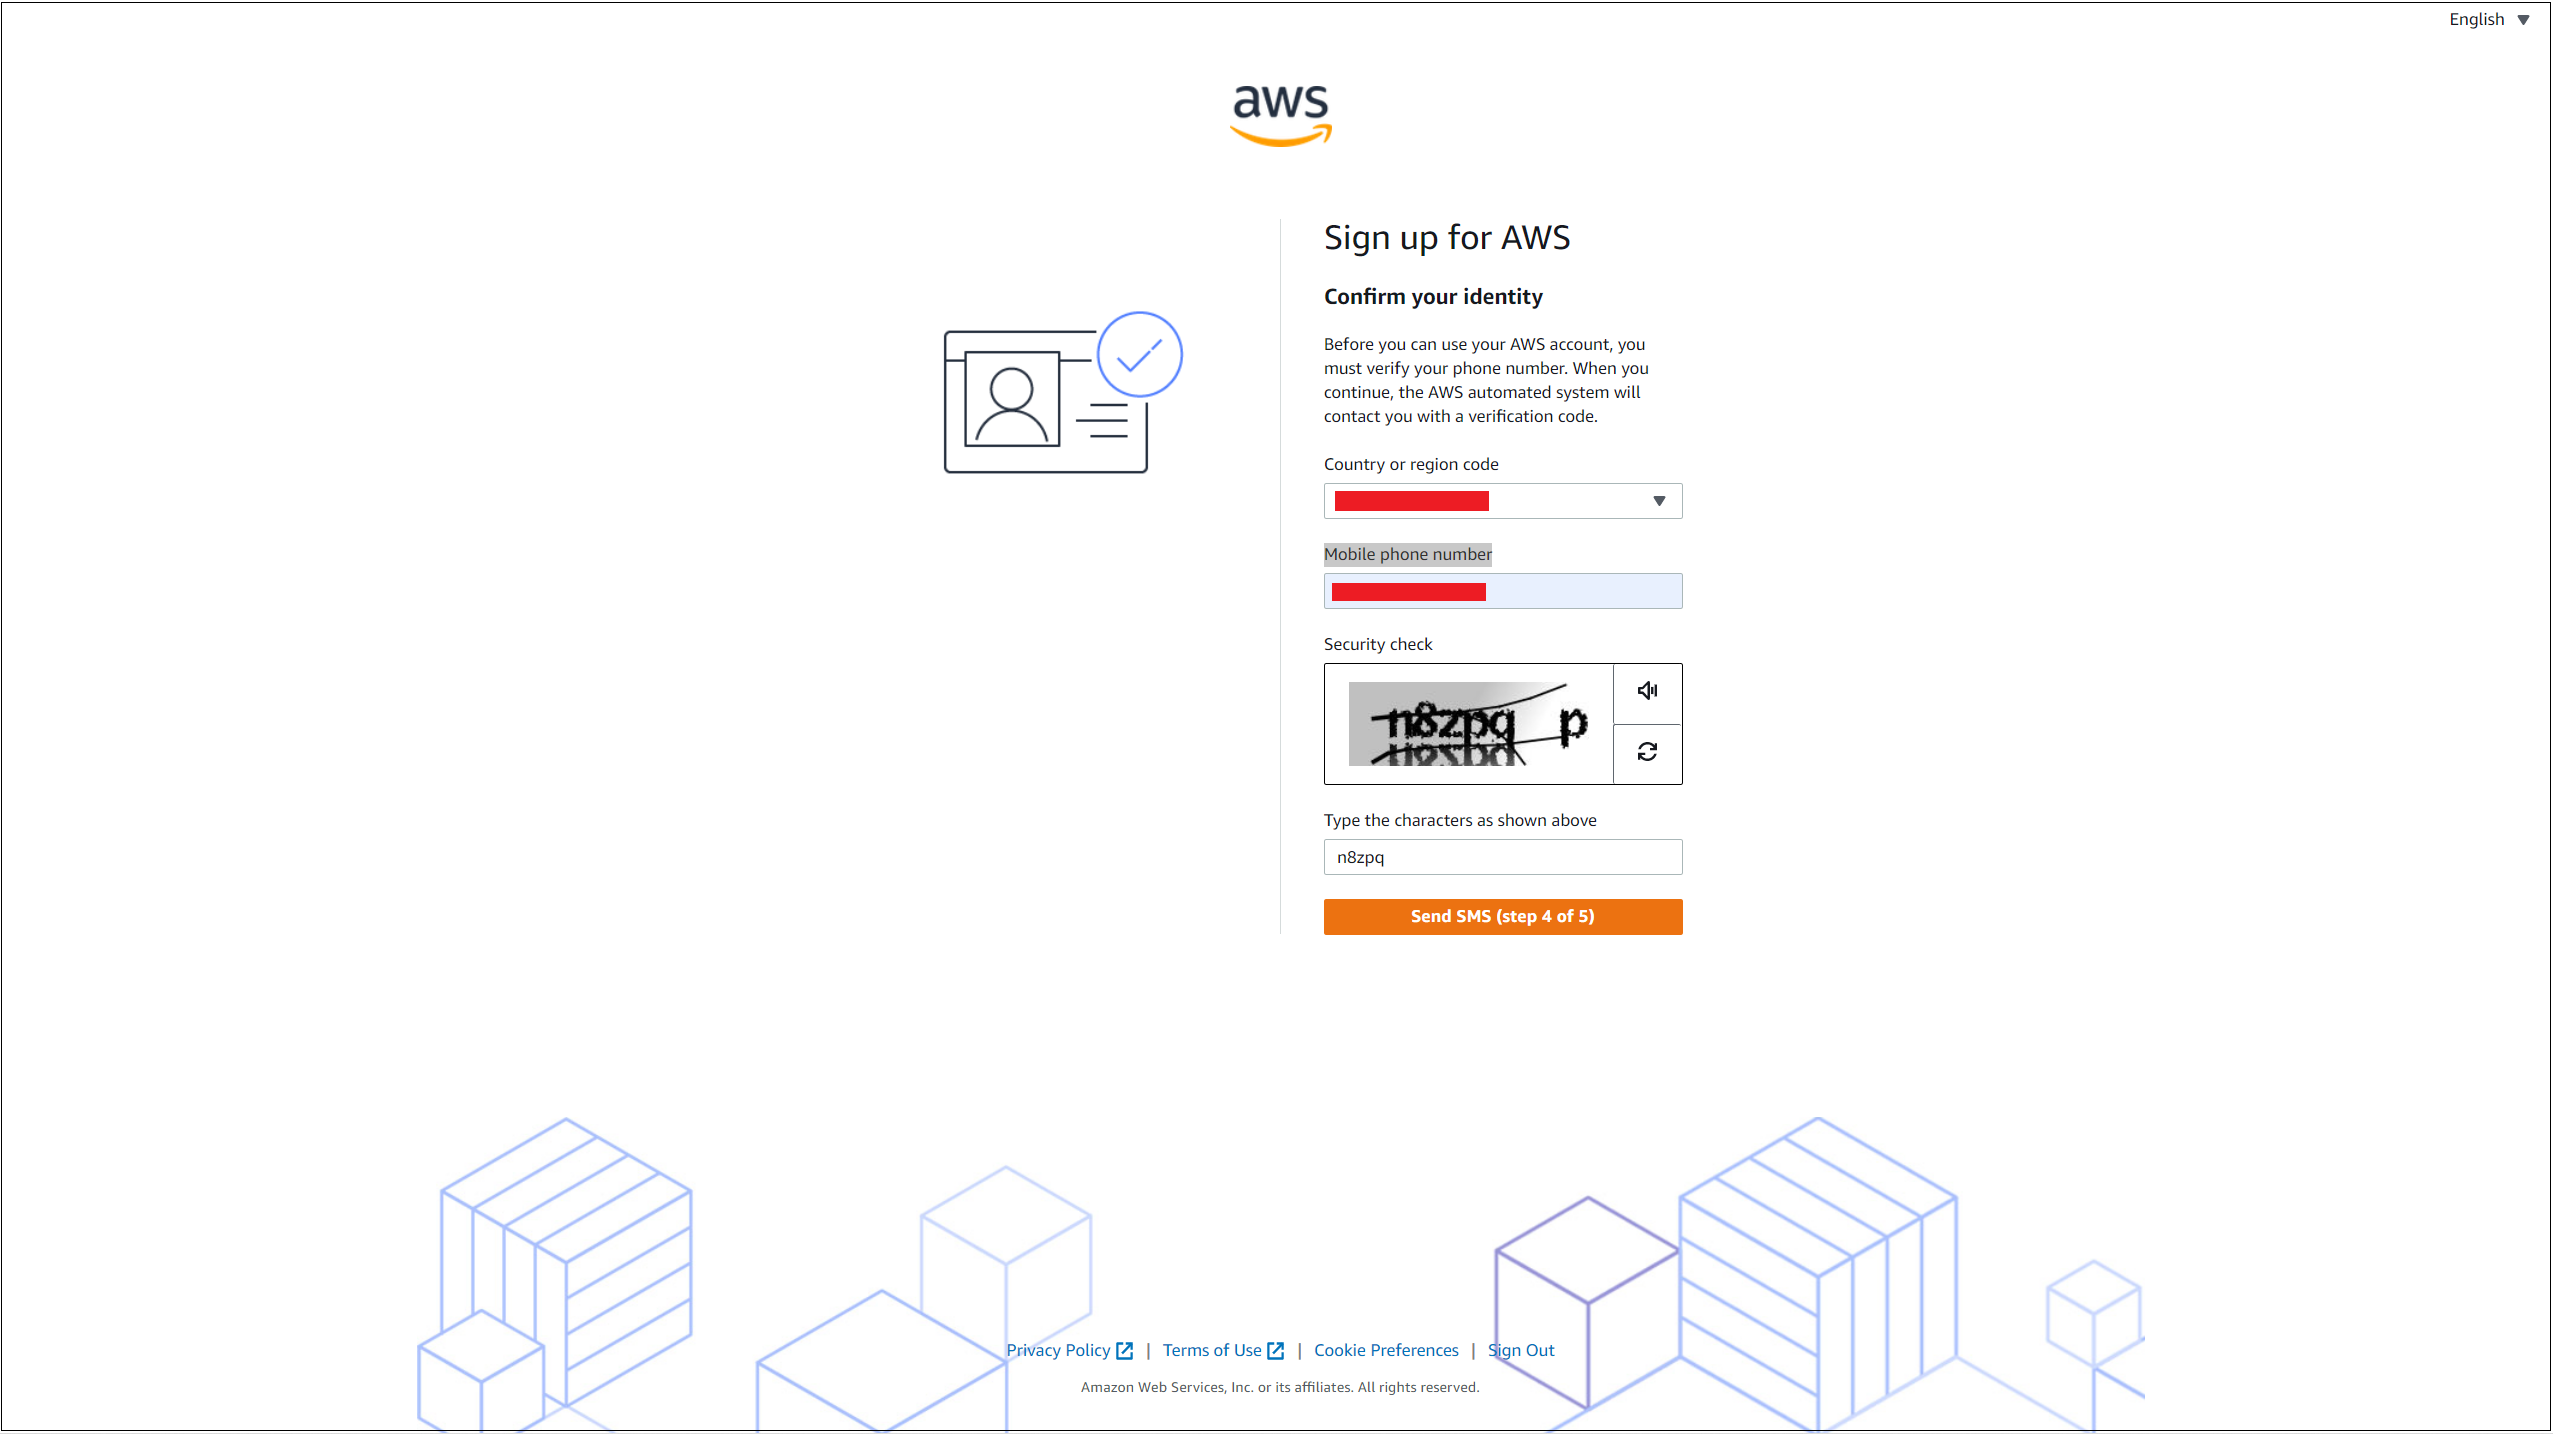
Wait for a few minutes to get the verification code for your given number.
After receiving the code, enter it and press the Verify button.

Step 7 - Select a support plan:
- Select your desired Support Plan.
- Press the Complete sign up button.
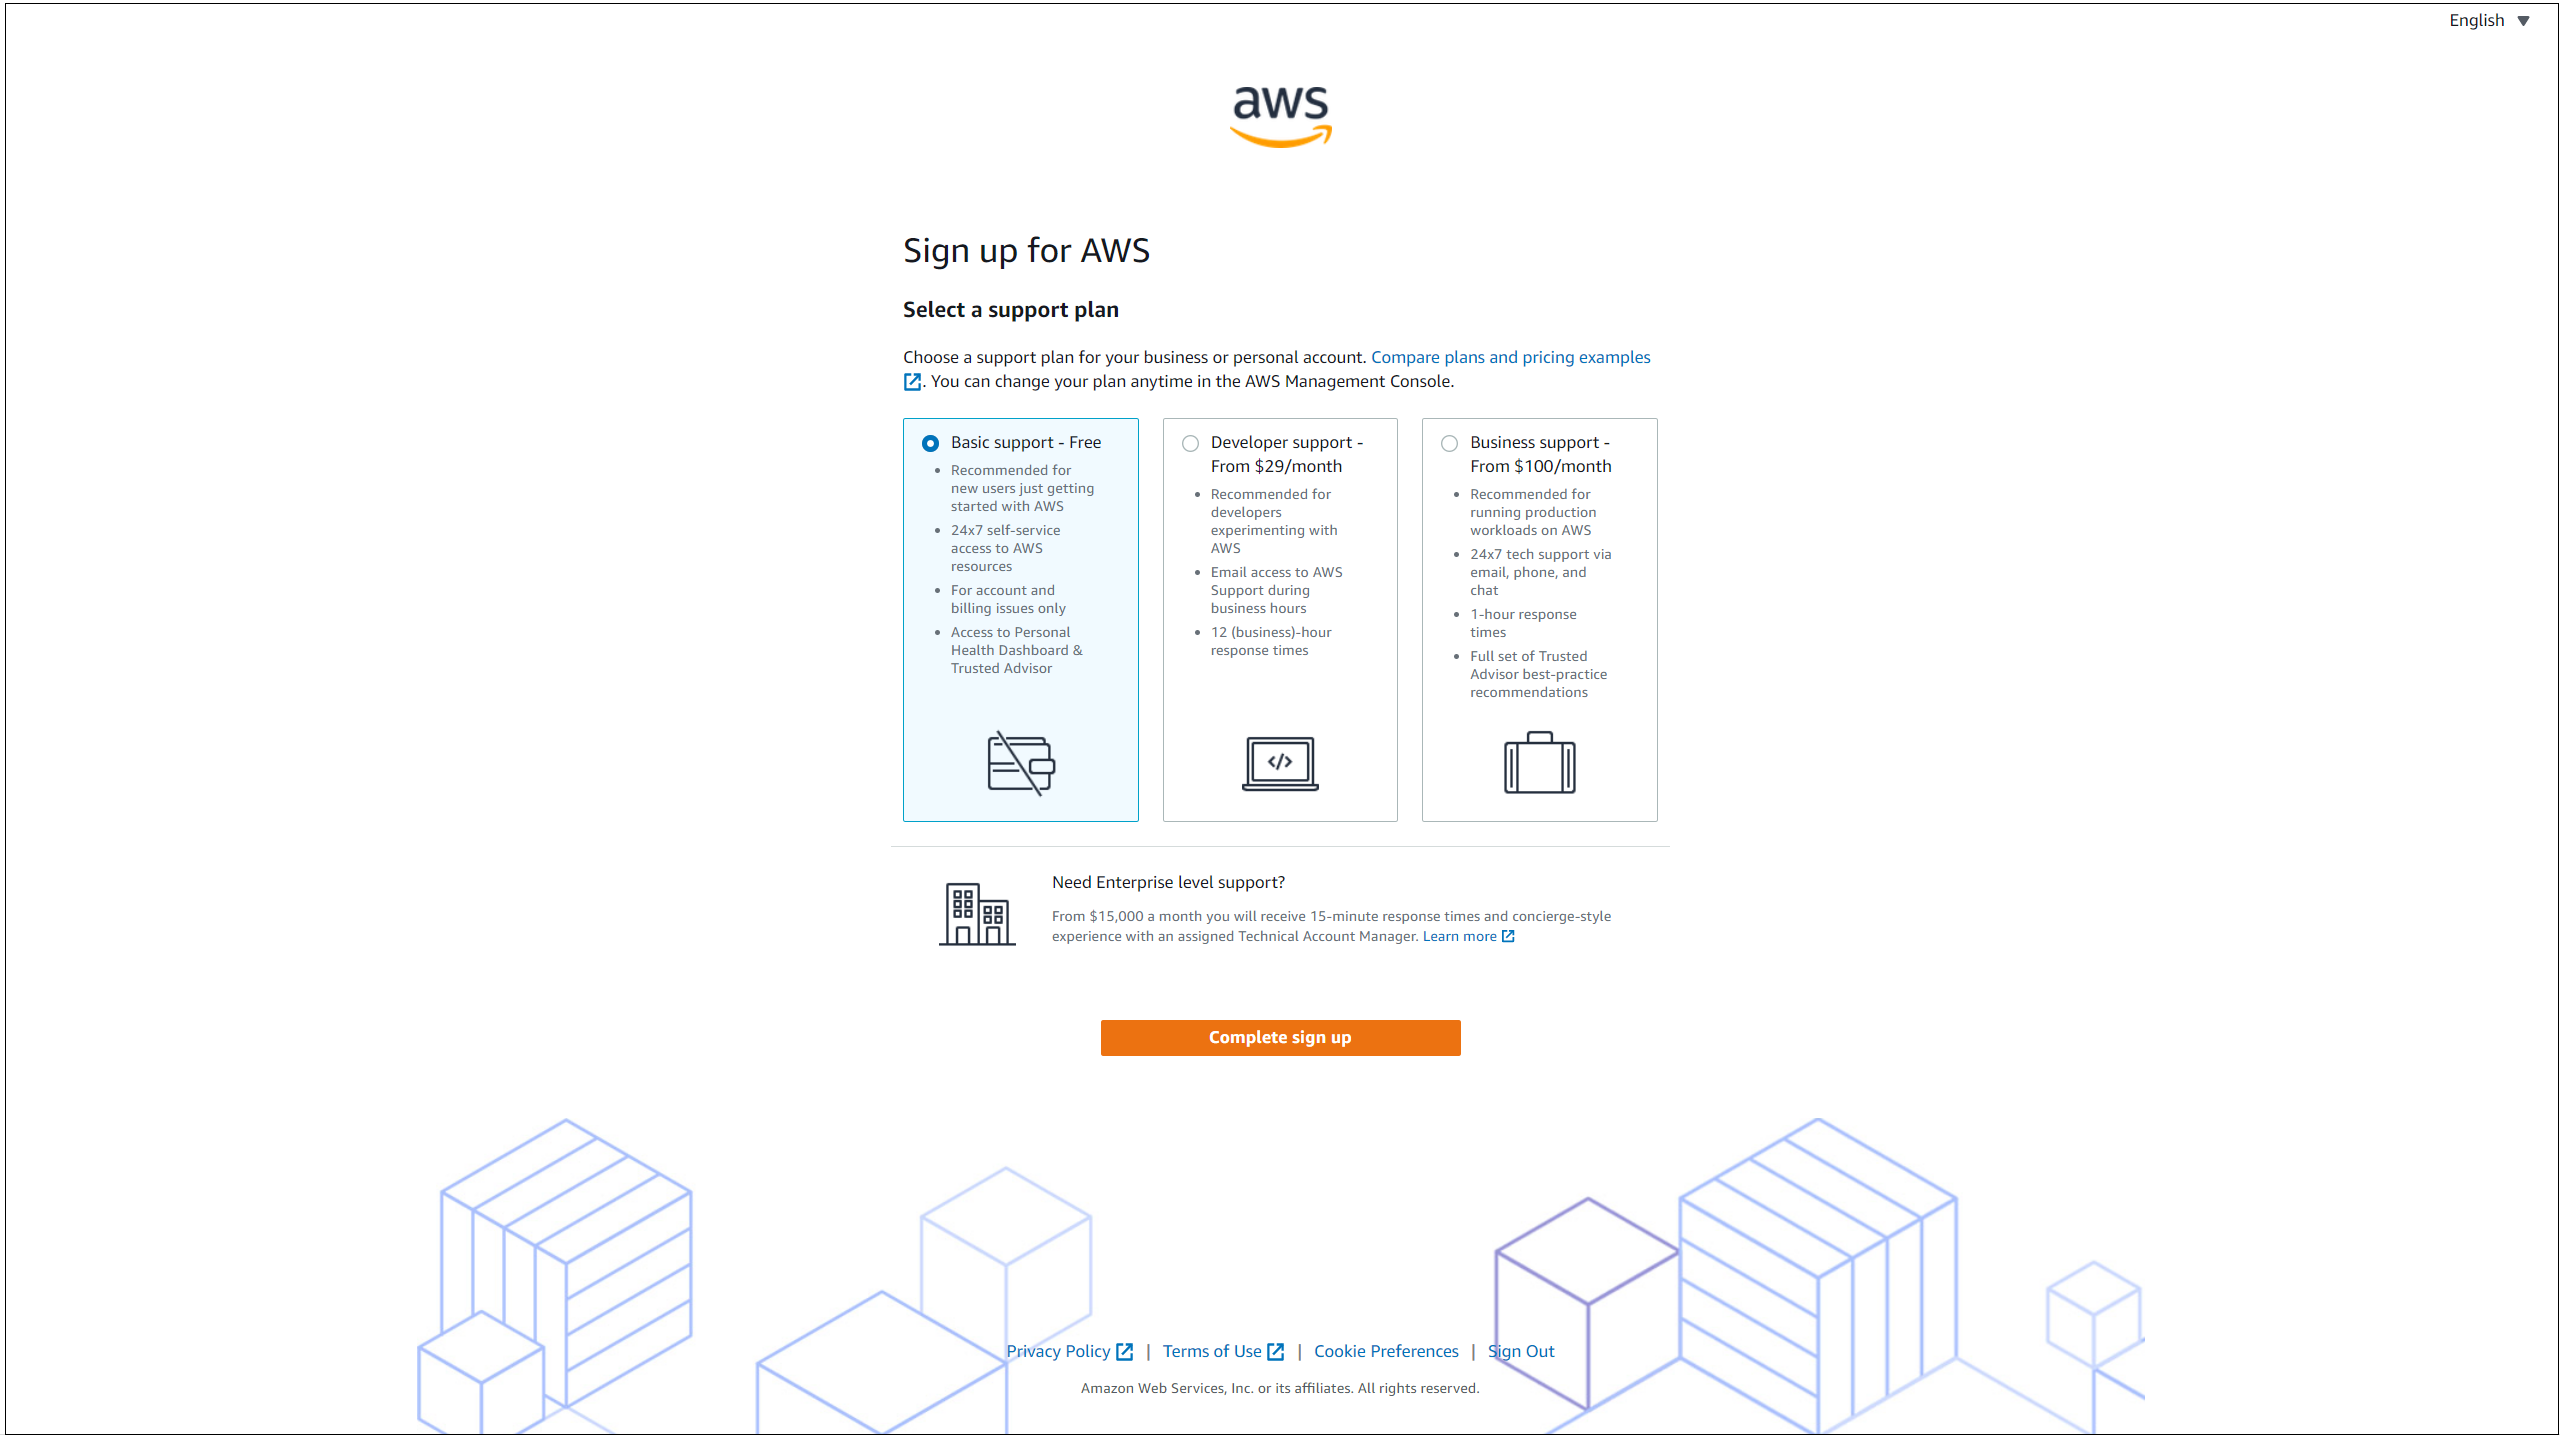
Congratulations! You have completed the final step!!!
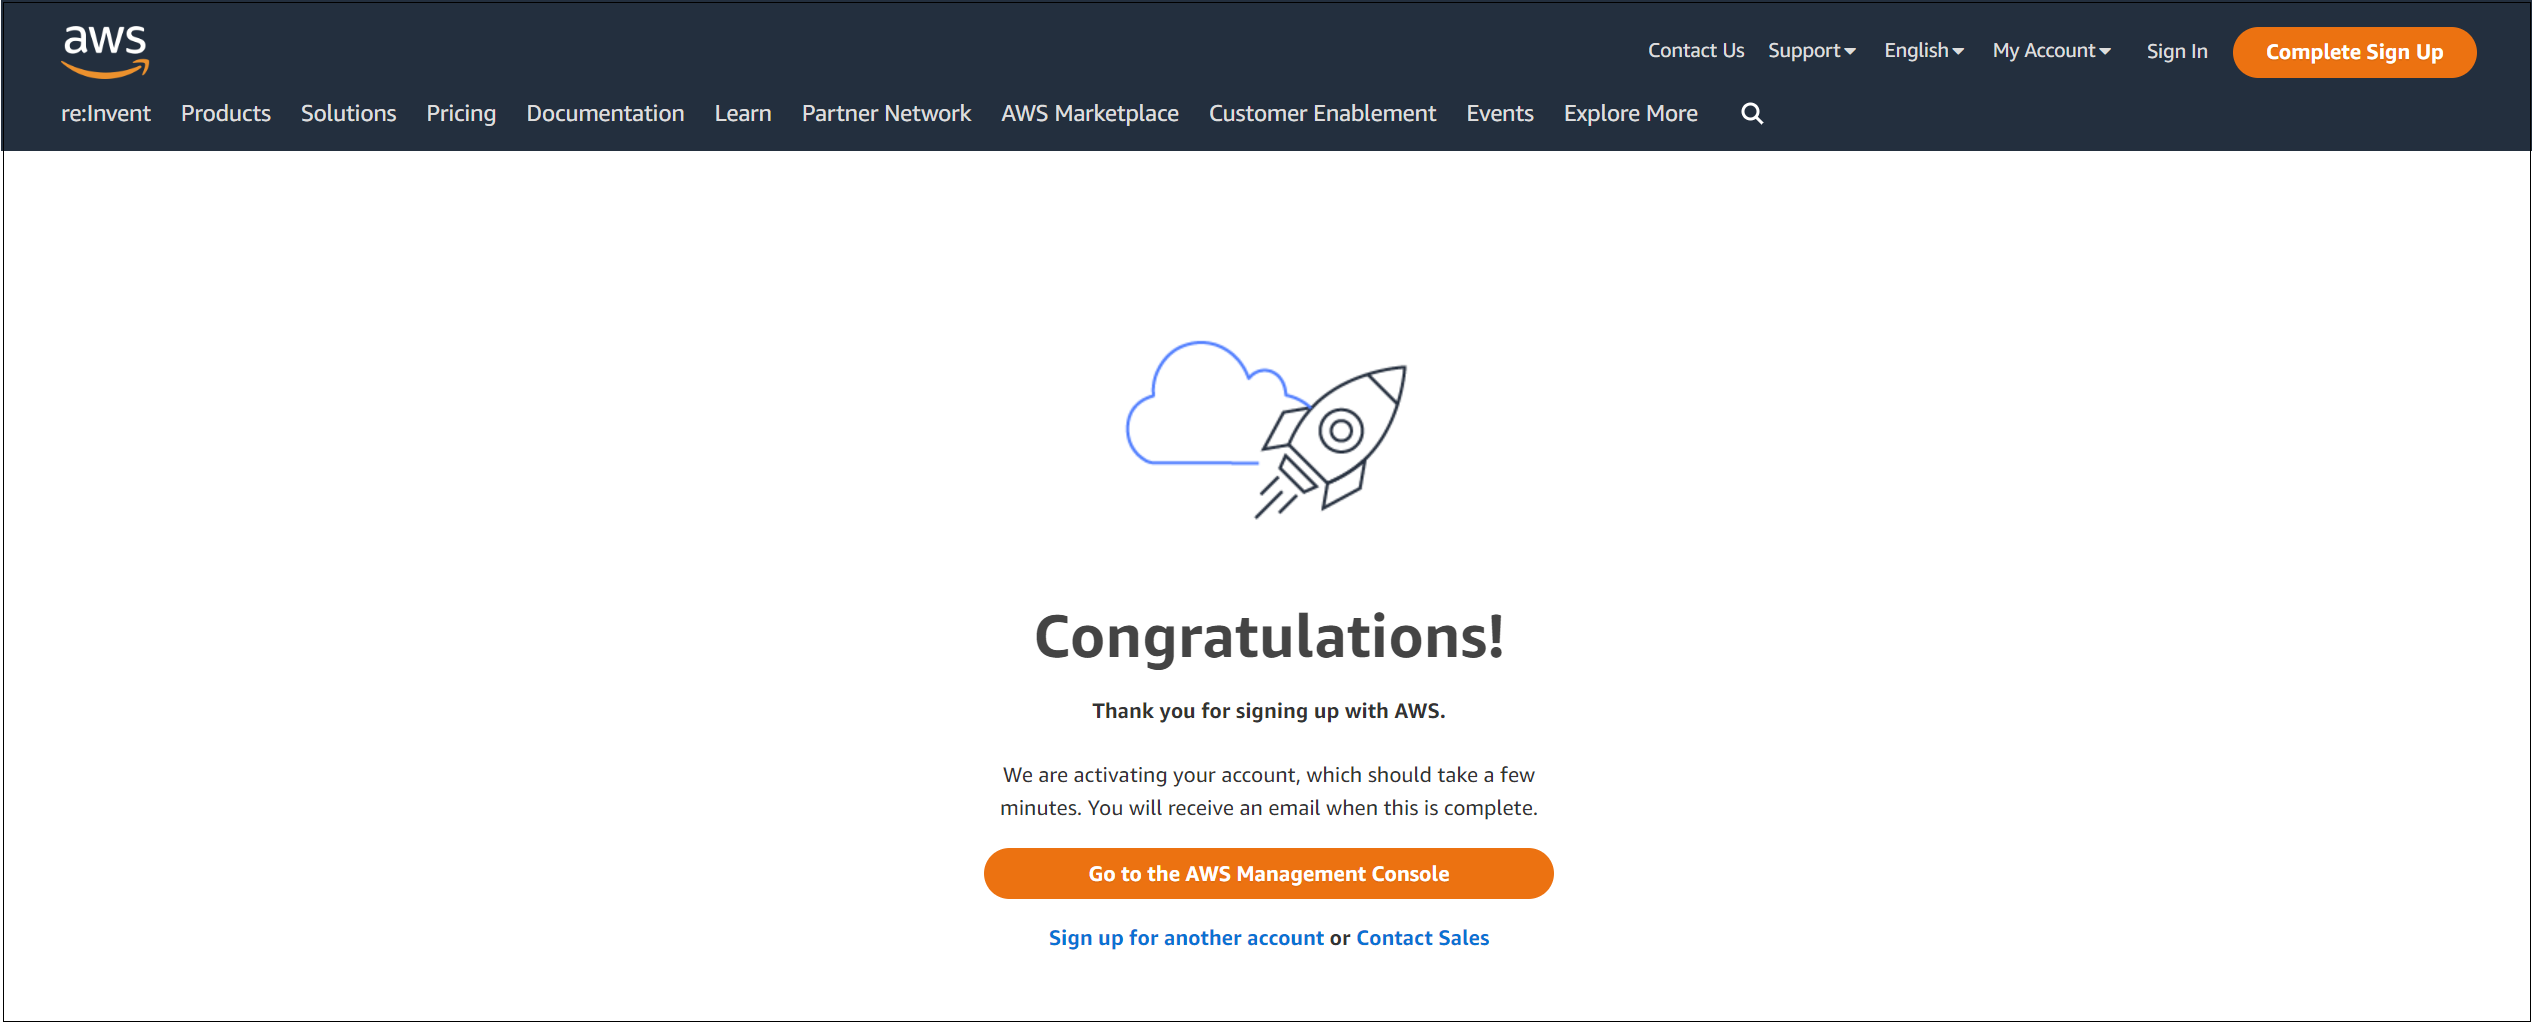
Account activation email
Although you are presented with a Congratulations! message, still a button saying Complete Sign Up is showing at the top right corner of the page.
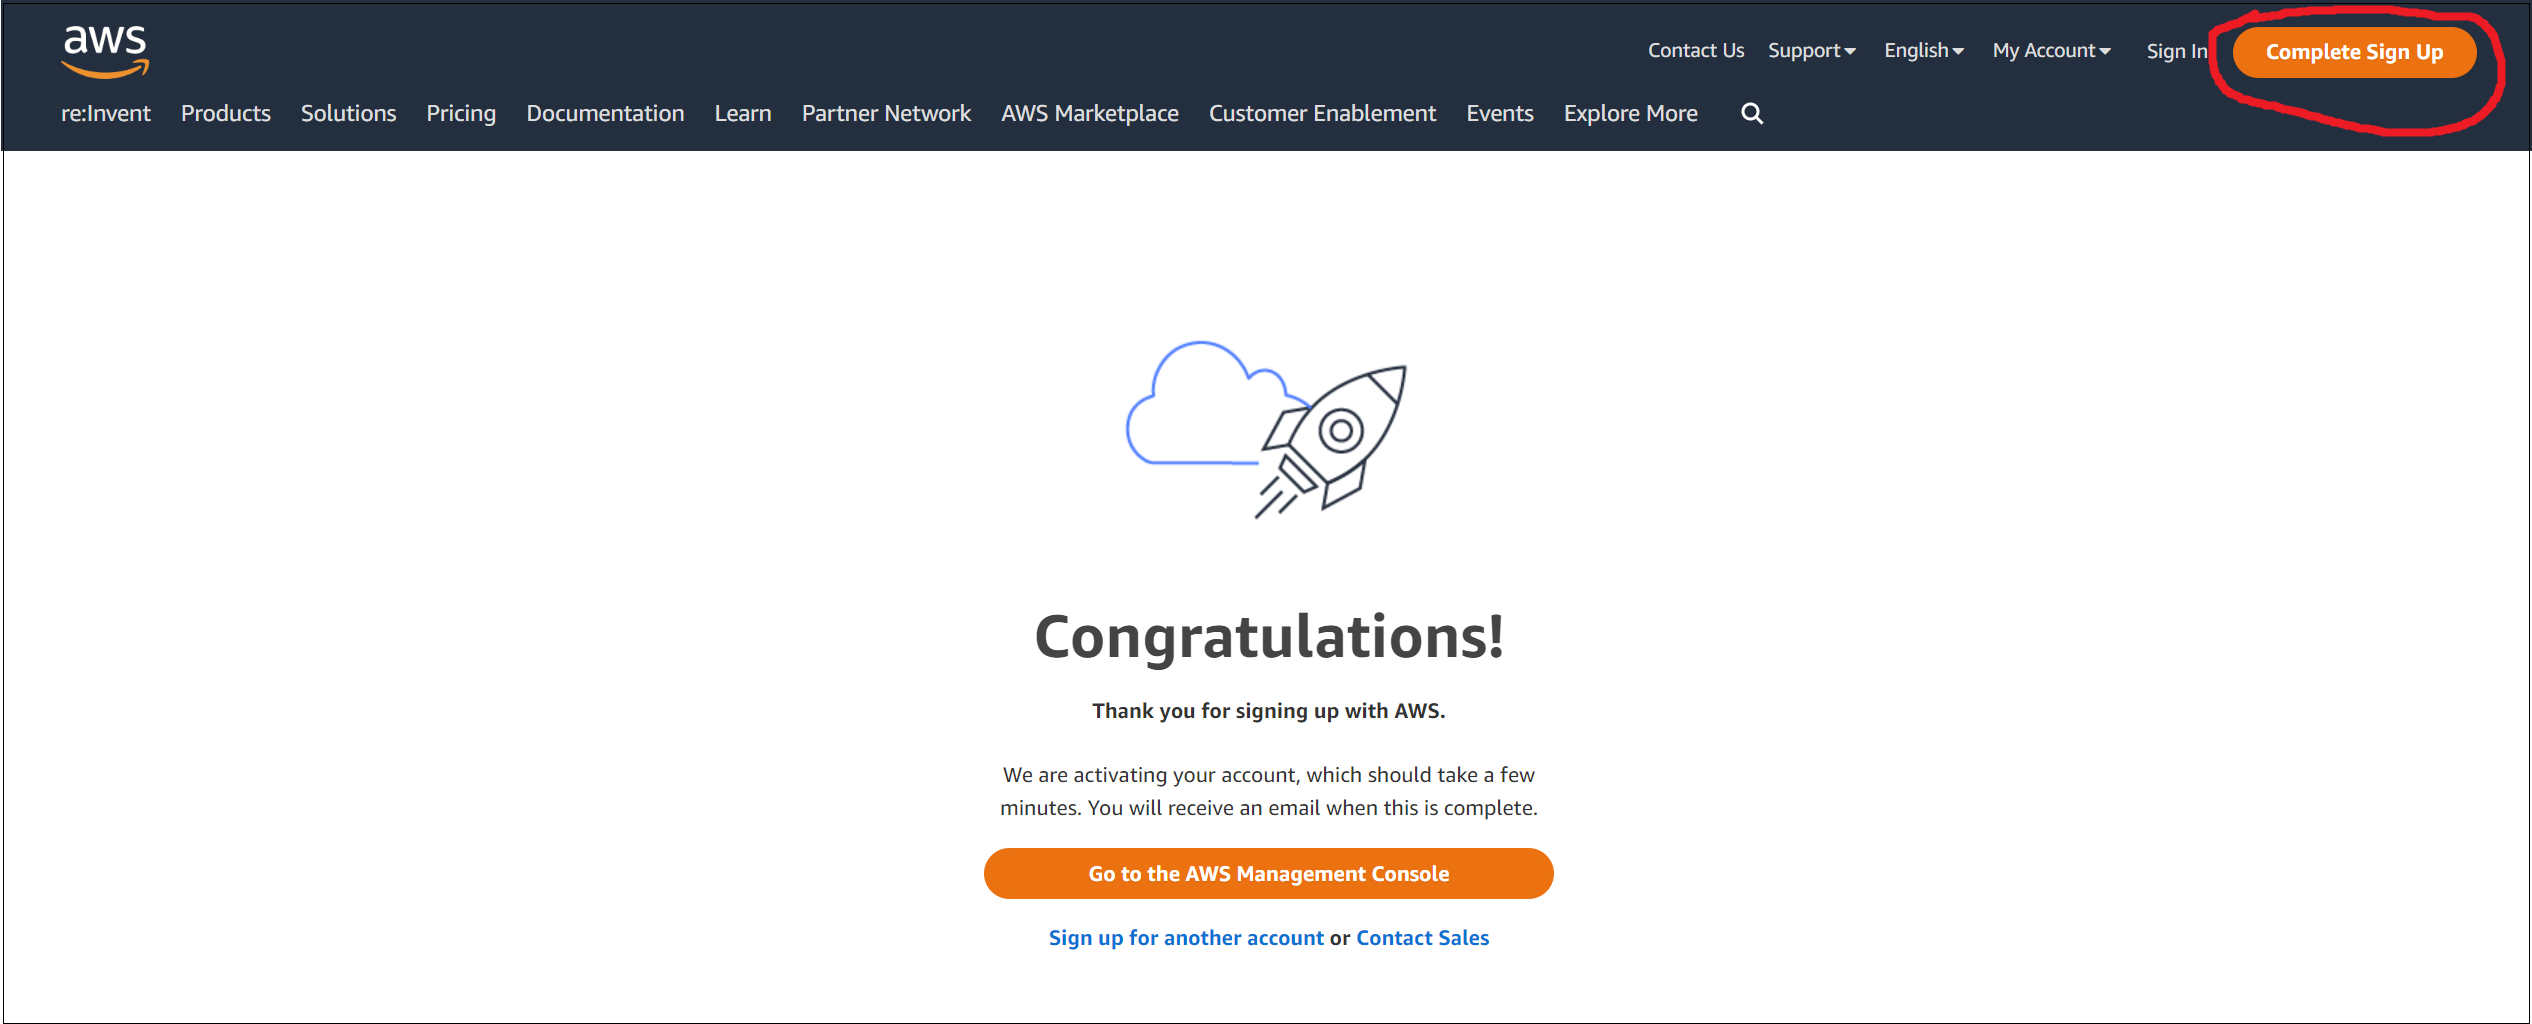
Well, Don’t get worried. AWS is simply activating your account and within 24 hours you will get an email from them. After you get the activation email, you will have access to all AWS services.
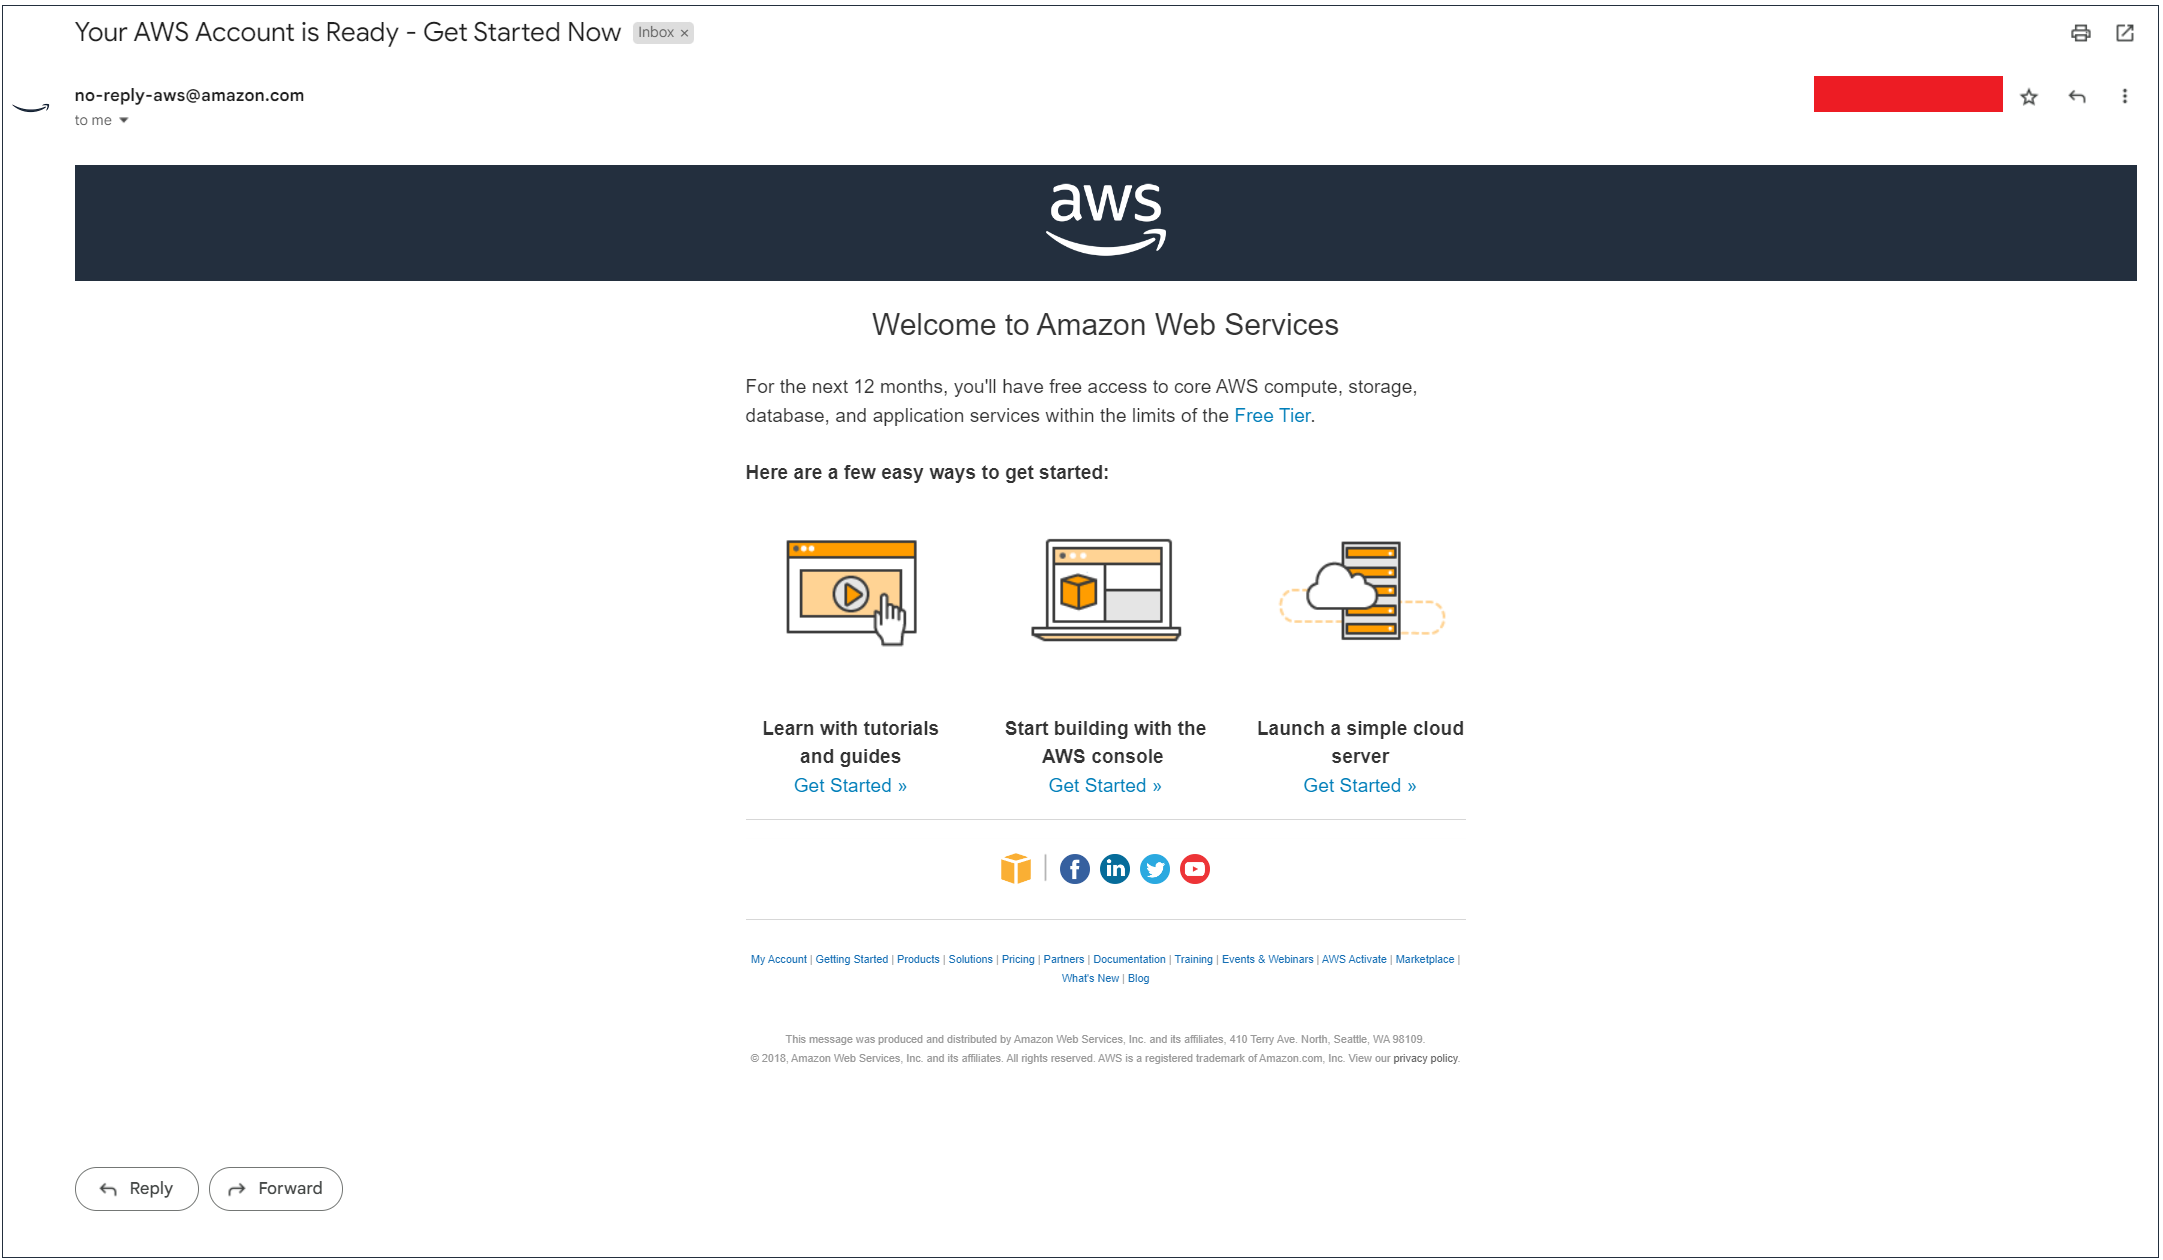
So, when your AWS account is ready start exploring and start building some awesome projects!!!
Important: If you don’t get the email within the time period:
- Check all the steps for the signup process.
- Check the information associated with the payment method.
- Contact your bank to see if you have proper permission.
- Check your email for additional information.
- Contact AWS Support for help.